
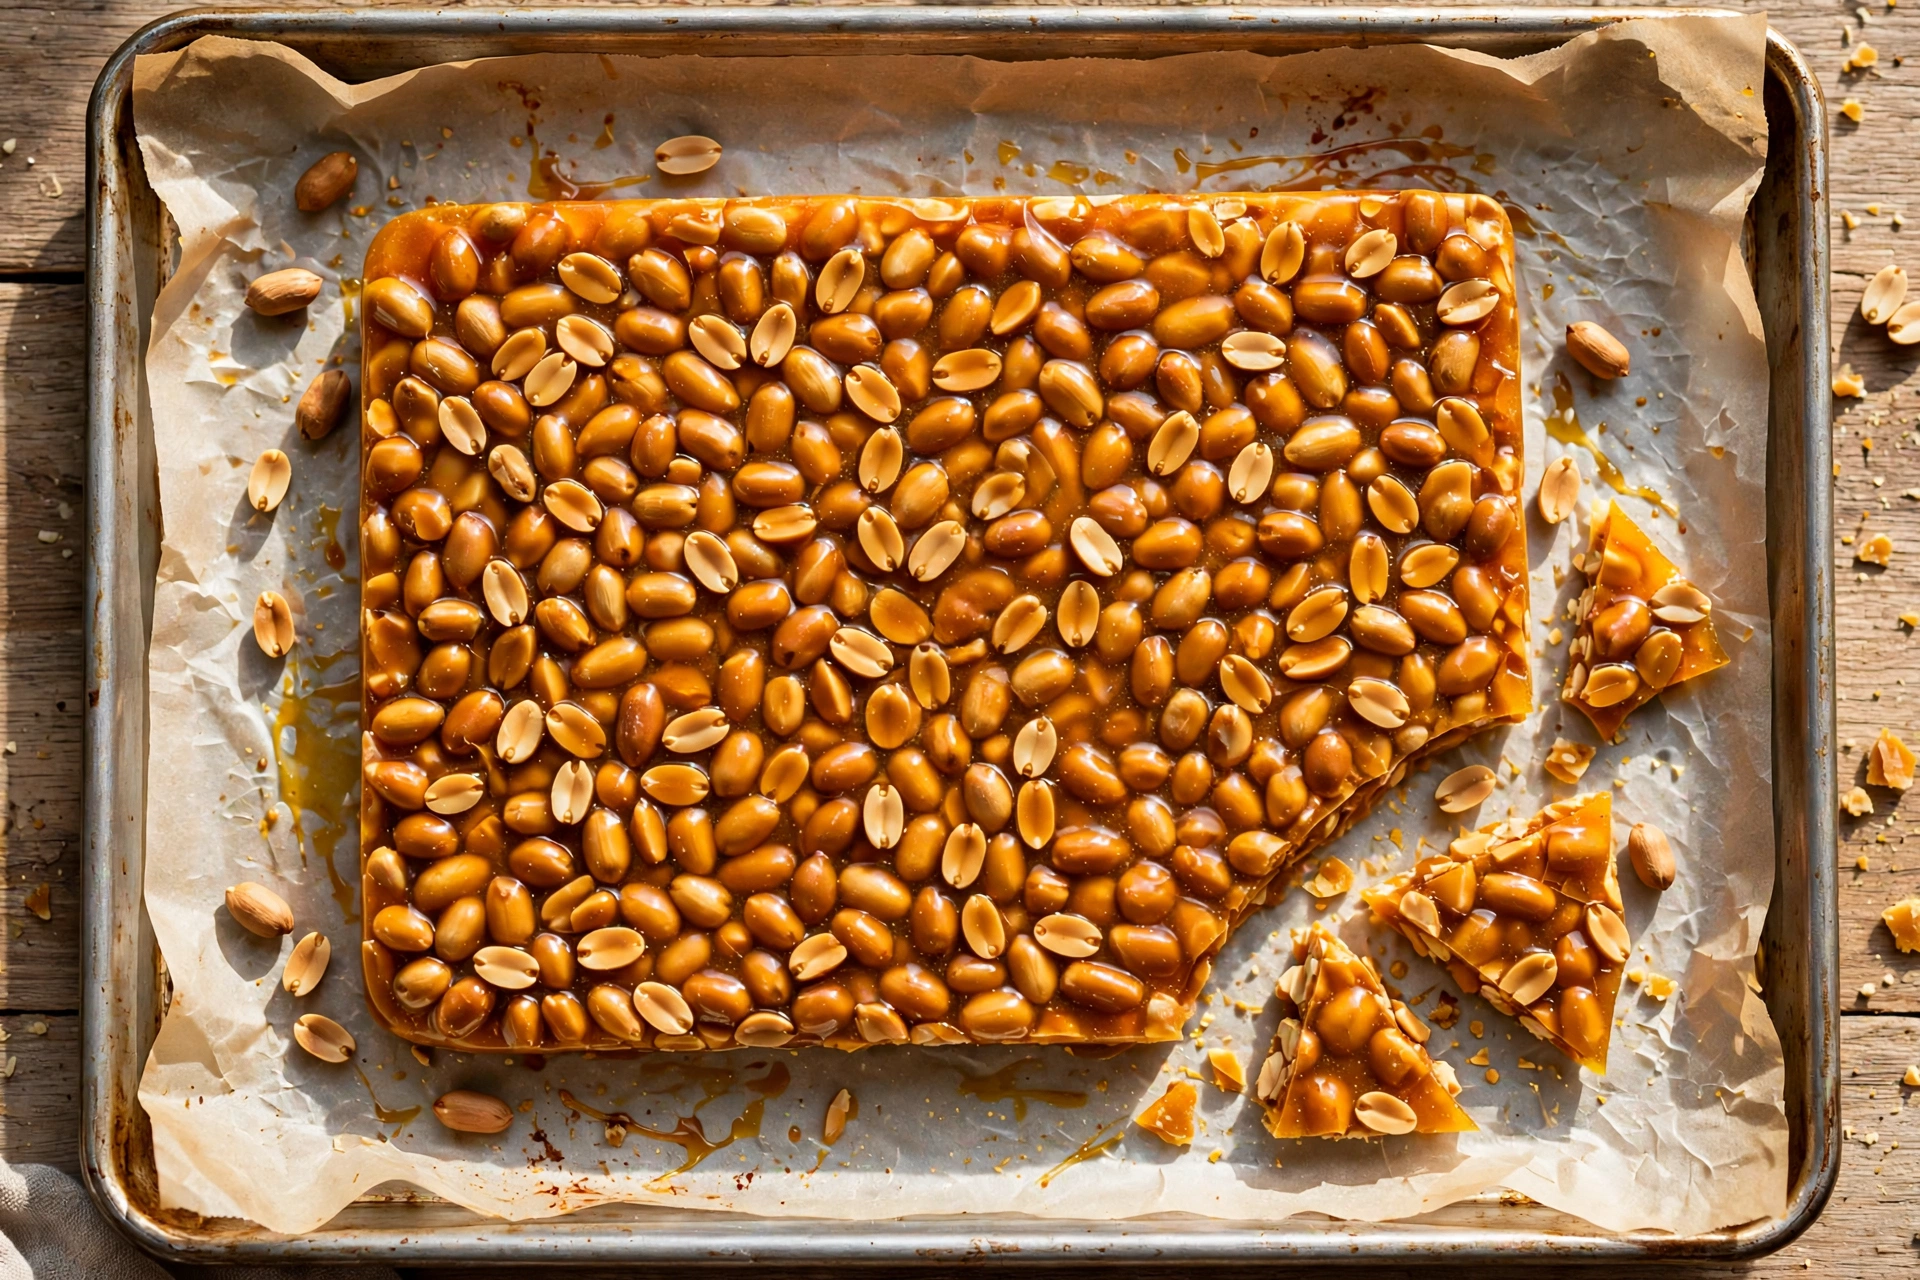
Peanut brittle has a reputation problem. People picture a candy thermometer clipped to a pot, molten sugar at three hundred degrees, and a narrow window between perfect amber and burnt. That version is real, but it is not the only version. This microwave peanut brittle makes the same glassy, snapping, peanut packed candy in about twenty minutes, with a glass bowl, a wooden spoon, and your eyes as the only thermometer. The syrup cooks alone first for a clean color, the peanuts go in for just the last stretch so they taste toasted instead of scorched, and one foaming spoonful of baking soda at the end gives the brittle its light, shattering bite.
It is also the best edible gift in this entire season. Brittle keeps for two weeks in a tin, travels without melting or crumbling into dust, and breaks into rustic shards that look like you bought them at a candy shop. Make it once for the cookie boxes and it becomes an annual assignment.
Jump to:
- No Thermometer, No Stovetop, No Problem
- Why the Syrup Cooks Alone First
- What You Need
- Microwave Peanut Brittle, Burst by Burst
- Know Your Wattage: The Burst Chart
- Color Is Your Thermometer
- The Sixty Second Foam and Spread
- Snap, Store, and Gift It
- When Brittle Goes Wrong
- Questions About This Microwave Peanut Brittle
No Thermometer, No Stovetop, No Problem
A microwave cooks candy differently from a pot, and for brittle that difference is a gift. There are no hot spots on a burner ring, no pan walls scorching the syrup that climbs them, and no long preheat. The sugar heats from inside the bowl, evenly, in short bursts you control. Each burst ends with a stir, and each stir is a checkpoint: you see the color, you smell the toastiness, you decide. Stovetop brittle asks you to trust a thermometer. This one shows you everything.
The honest clock matters, so here it is. Five minutes of measuring and buttering the pan, about nine minutes of microwave bursts with stirring between them, one frantic and joyful minute of foaming and spreading, and then the slab needs roughly ten quiet minutes before it snaps cleanly, twenty if you want it rock hard for stacking in tins. Your hands are done at the twenty minute mark with the candy made and cooling; by the time the kitchen is wiped down, it is ready to break. No other candy on the Christmas list finishes this fast, including the ones that claim smaller numbers by quietly leaving the cooling off the clock.
One safety paragraph, because molten sugar deserves respect. The mixture is extremely hot, hotter than boiling water, and it stays hot. Use a large heatproof glass bowl with room to foam, oven mitts for every trip out of the microwave, and keep small helpers on the other side of the kitchen for the nine cooking minutes. They can be chief snappers later.
Why the Syrup Cooks Alone First
Most microwave recipes throw the peanuts in at the start and cook everything together for eight to ten minutes. It works, but the peanuts spend the whole ride in molten sugar and come out dark, sometimes bitter at the edges, and the syrup color is impossible to read through a bowl full of nuts. Cooking the syrup alone for the first burst fixes all of it. Plain sugar syrup shows its color honestly, clear, then pale gold, and you can judge the exact moment to add the peanuts.
The peanuts then cook for about three minutes total, which is exactly what a raw peanut wants: enough heat to toast through and turn sweet and nutty, not enough to scorch. Roasted unsalted peanuts work beautifully too if that is what the pantry holds; since they are already toasted, cut their burst by about a minute and lean on the color cues harder. Salted peanuts are welcome as well. Just drop the added salt to a pinch.
There is a second, subtler win. Syrup that cooks alone melts into a smooth, even base, so when the baking soda lands, the foam runs through the whole batch evenly. Evenly distributed foam is what makes one shard shatter and the next one chew. Even foam, even snap.
What You Need
- Granulated sugar, 1 cup: plain white sugar melts cleanest and shows color best.
- Light corn syrup, 1/2 cup: the insurance policy. It keeps the sugar from crystallizing into grain, which is the one true brittle killer.
- Raw unsalted peanuts, 1 1/2 cups: skins on or off, both fine. Roasted unsalted also work, see the shorter burst above.
- Unsalted butter, 1 tablespoon, plus more for the pan: richness and a soft landing for the flavor.
- Vanilla extract, 1 teaspoon: measured in teaspoons. A full tablespoon, which one famous old recipe prints, will bully the whole batch.
- Baking soda, 1 heaping teaspoon: the foam maker. It must be fresh and it must go in last, fast.
- Fine salt, 1/4 teaspoon: skip or reduce if your peanuts are salted.
Equipment is a short list with two non-negotiables: a large microwave safe glass bowl, at least two quarts, because the soda foam can double the volume in seconds, and a rimmed baking sheet buttered well or lined with buttered parchment. Set the pan beside the microwave before you start. The last minute of this recipe does not contain any spare seconds for finding a pan.
Microwave Peanut Brittle, Burst by Burst
- Set the stage. Butter a rimmed baking sheet generously, or line it with parchment and butter the parchment. Park it next to the microwave. Measure everything now; this recipe does not pause later.
- Syrup first. Stir the sugar and corn syrup together in the large glass bowl until it looks like wet sand. Microwave on high for 4 minutes, until the syrup is bubbling across the whole surface and still pale.
- Peanuts in. Stir in the peanuts and the salt until every nut is coated and glossy. Microwave on high for 3 minutes, until the syrup turns light amber and smells like toasted nuts. That smell is a checkpoint, trust it.
- Butter and vanilla. Stir in the butter and vanilla carefully; the syrup will sputter a little. Microwave on high for 1 final minute. You want a confident amber, one shade deeper than honey.
- The foam. Pull the bowl out and immediately stir in the baking soda, fast and thorough, about 10 seconds. The mixture foams, lightens, and turns the color of café au lait. Stop stirring the moment it is uniform; over stirring knocks the air back out.
- Pour and spread. Pour the foam onto the buttered pan in one confident stream. Tilt the pan or nudge with a buttered spatula to about 1/4 inch thick. Do not press or flatten aggressively; you are guiding, not ironing.
- Cool untouched. Leave the slab alone for at least 10 minutes. It hardens from glassy and flexible to a clean snap as it cools.
- Snap and store. Lift the slab and break it into rustic pieces with your hands. About one pound of brittle, ready for tins and the cook’s private reserve.
Know Your Wattage: The Burst Chart
Microwaves are not one appliance, they are a family of them, and candy is where the difference shows. The times above are written for a standard 1000 to 1100 watt oven. Adjust by this chart, and always let color make the final call.
- 1100 watts and up: syrup 3 minutes 30 seconds, peanuts 2 minutes 30 seconds, finish 1 minute. Watch the final minute closely; strong ovens run ahead.
- 900 to 1000 watts: the recipe as written, 4 minutes, 3 minutes, 1 minute.
- 700 to 800 watts: syrup 4 minutes 30 seconds, peanuts 3 minutes 30 seconds, finish 1 minute 30 seconds. Judge by amber color, not by beeps.
- Under 700 watts: workable but slow; add 30 seconds per burst and expect a paler brittle. A compact oven simply moves less energy per minute.
Find your wattage on the sticker inside the door or in the manual, and write your adjusted times on a sticky note parked on this recipe forever.
Color Is Your Thermometer
Candy stages have temperatures, but in a microwave bowl they are easier to read as colors, and colors do not need batteries. Learn these three and you will never burn a batch.
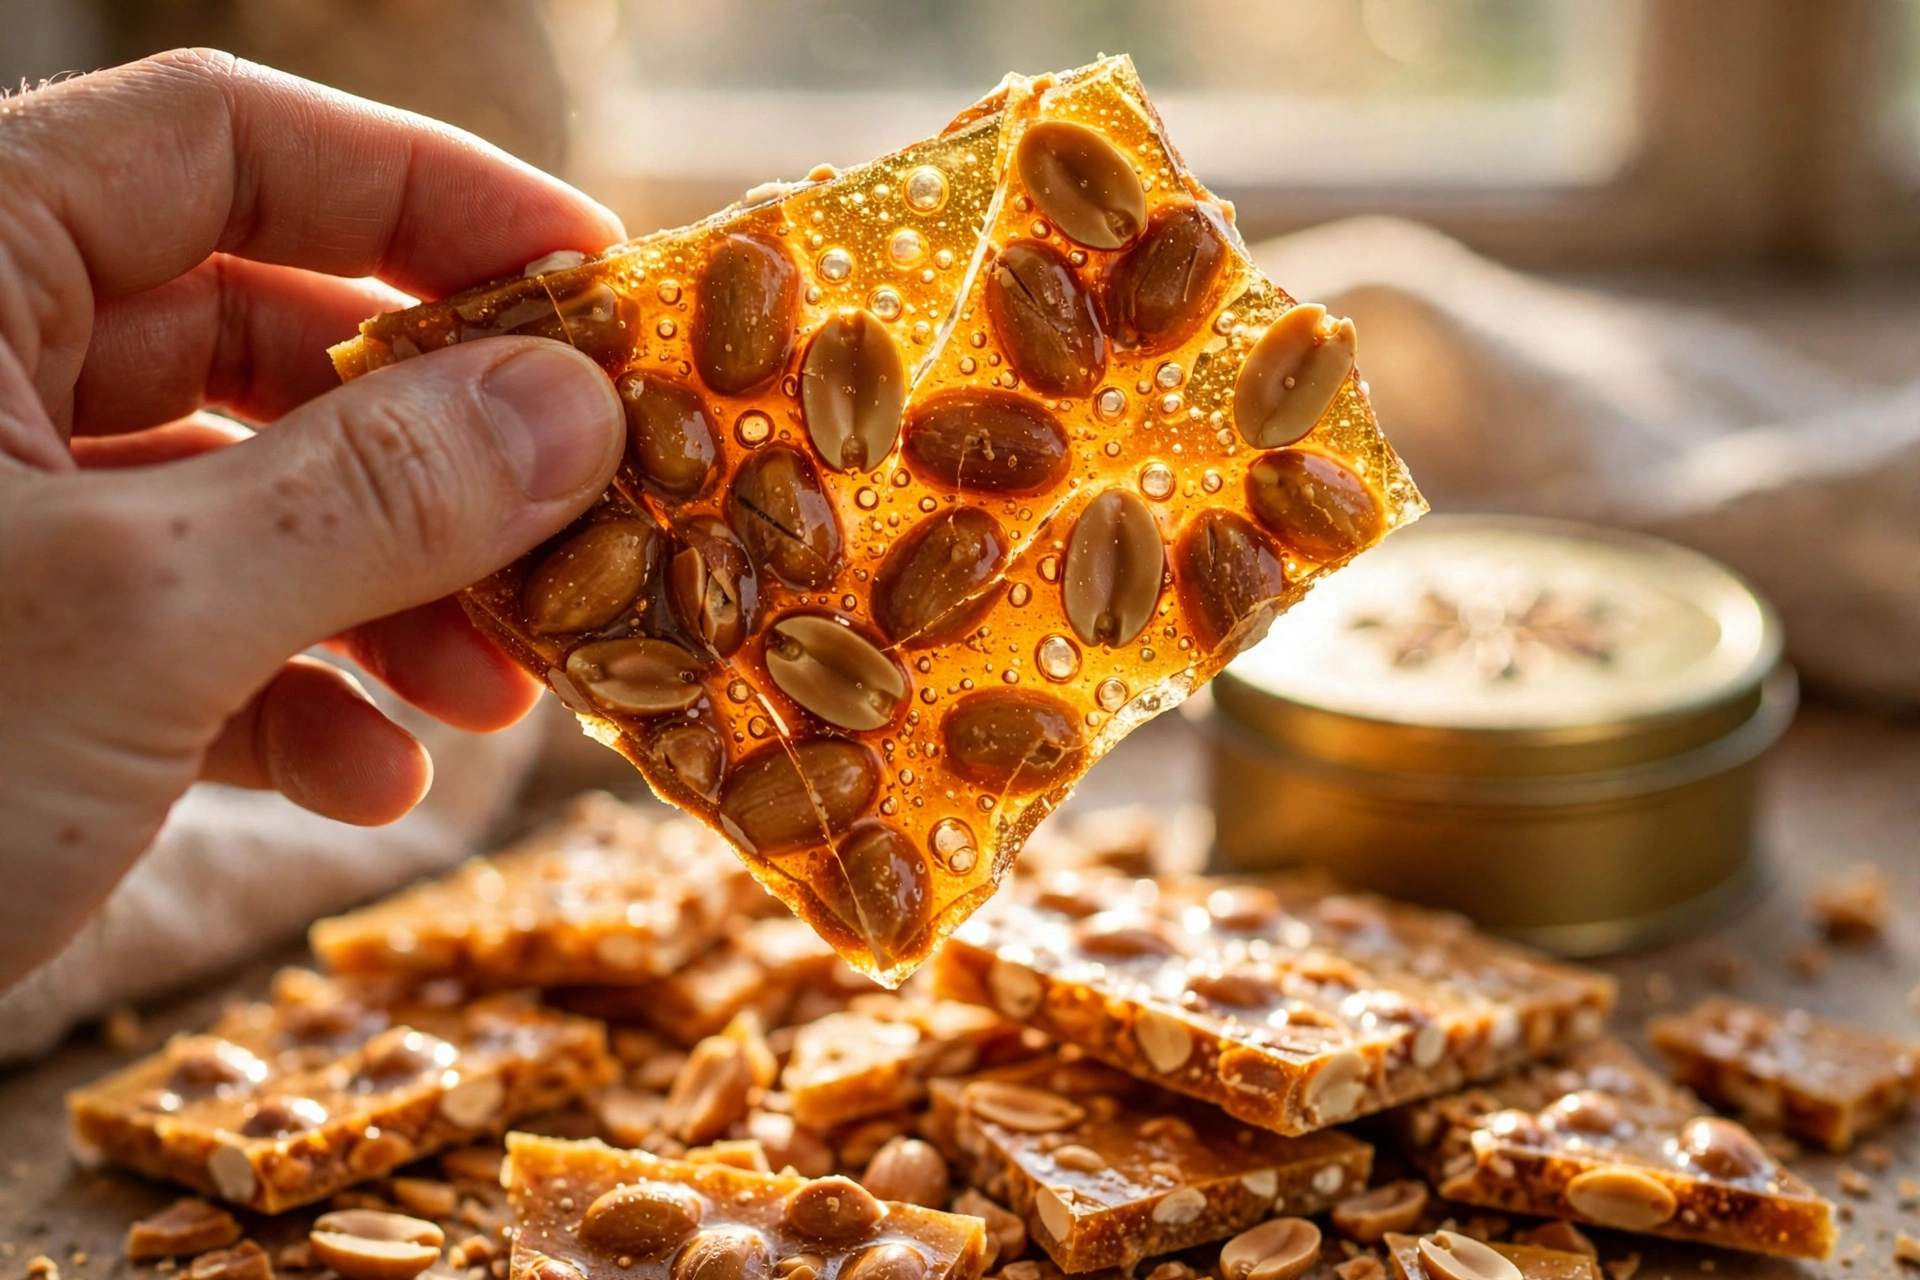
Clear and bubbling is the end of burst one: the sugar has dissolved and the syrup is on its way, but there is no caramel flavor yet. Pale gold, like weak tea, is where the peanuts go in and come out; sweet, light, safe. Amber, like honey in sunlight, is the finish line after the butter minute: full caramel flavor, deep and toasty. One shade past amber, toward mahogany, the sugar starts to smoke and turn bitter within seconds. That shade is the only true point of no return in the recipe, and it announces itself with a sharp smell. When in doubt, pull it early: slightly pale brittle is still wonderful, while burnt brittle is a lesson.
The foam changes the color again, lightening everything by two shades as air whips in. Do not chase the amber back after the soda: the color you want in the bowl is deeper than the color you want on the plate.
The Sixty Second Foam and Spread
Everything slow in this recipe is a kindness, because this minute is not. When baking soda hits three hundred degree syrup it releases a rush of gas, and the whole bowl inflates into a light, opaque foam. That foam is the texture of great brittle: thousands of tiny bubbles frozen in glass, which is why it shatters instead of sticking to your teeth. From soda in to slab spread, you have about sixty seconds before the foam starts to set in the bowl.
Work in one direction. Soda in, stir ten seconds with commitment, bowl up, pour in one stream down the middle of the pan, then tilt the pan corner to corner and let gravity do the spreading. A buttered spatula handles the corners. If you spread with pressure, you crush the bubbles you just built, and the brittle sets dense and hard instead of crisp. Patience built the foam; gentleness keeps it.
Thinner is better here. A slab at one quarter inch snaps clean and eats light; at half an inch it becomes jaw work. If your pour puddles thick in the middle, tilt harder rather than pressing.
Snap, Store, and Gift It
Brittle keeps like a dream and fears exactly one thing: humidity. Store the snapped pieces in an airtight tin at room temperature with parchment between layers, and they stay crisp for two weeks. In humid weather, work fast between cooling and tinning; sugar glass drinks moisture from the air and turns sticky at the surface. A food safe silica packet in the tin is a candy maker’s trick worth stealing. Never refrigerate brittle; the fridge is a humidity box that makes it weep.
For gifts, it is the easiest candy on the list. Fill small cellophane bags or wide mouth jars, tie with ribbon, and add a handwritten tag: the name, the date, and one line like « snaps best within two weeks ». A mixed tin is the real showpiece: this brittle beside pieces of our Christmas crack and shards of peppermint bark gives three colors, three textures, and one very remembered gift. Round out a cookie box with the reindeer chow for the kids and a few eggnog snickerdoodles for the soft cookie people. Every texture covered, all from one afternoon.
Shipping works too: brittle survives a padded mailer without ice packs in cool weather months, riding in a tin inside the box. The National Peanut Board keeps its own microwave brittle in the same family, which tells you how settled and loved this method is among people who think about peanuts professionally.
When Brittle Goes Wrong
Grainy or cloudy instead of glassy. Sugar crystals got a foothold, usually from undissolved sugar on the bowl wall or a dirty spoon reentering the syrup. The corn syrup guards against it; also scrape the bowl sides down at the first stir.
Chewy instead of snapping. The syrup stopped a shade early, the slab spread too thick, or the day is humid. Undercooked is the main one: go one shade deeper next batch. This batch still eats beautifully as a chewy peanut candy; serve it proudly under a different name.
Burnt smell, dark edges. Your wattage ran hot. Shorten the peanut burst by thirty seconds and the finish by fifteen, and write the new numbers down. Burnt sugar flavor does not age out; that batch is a write off, and every candy maker owns one.
One more classic: brittle that foams weakly. That is tired baking soda, the box that has lived open by the stove since spring. Fresh soda foams tall; test yours in vinegar, and if it does not fizz with enthusiasm, replace it before candy day. And if peppermint is your household flavor, the peppermint white chocolate fudge uses the same measure everything first discipline, for the same reason: candy does not wait.
Questions About This Microwave Peanut Brittle
Can I make peanut brittle without corn syrup?
You can, with golden syrup or honey swapped one for one, but plain sugar alone crystallizes too easily in the microwave and the texture turns grainy. Honey darkens fast and adds its own flavor; golden syrup is the closest stand in. The corn syrup earns its place here.
Raw or roasted peanuts, which is better?
Raw peanuts toast in the syrup during their three minute burst and come out with the deepest, freshest nut flavor, which is why the recipe defaults to them. Roasted unsalted peanuts are a fine shortcut, just shorten their burst by about a minute so they toast no further into bitterness.
Why did my brittle stick to my teeth?
It was pulled a shade early or spread too thick, so the structure set dense rather than foamy and crisp. Cook to a true amber, spread to a quarter inch, and stir the soda only until uniform, since over stirring deflates the bubbles that keep brittle light.
How long does homemade peanut brittle keep?
Two weeks at room temperature in an airtight tin, layered with parchment. Humidity is the enemy, so tin it as soon as it cools and keep the tin closed. Do not refrigerate it, and freeze only as a last resort, well wrapped, knowing the snap softens slightly.
Can I use other nuts?
Yes. Cashews are luxurious, almonds are classic, and a mixed nut version is a great clean out the pantry candy. Keep the total nut volume the same, use raw or lightly toasted nuts, and watch the color the same way. Seeds such as pumpkin seeds work for a nut free house with the same timings.
Print
20-Minute Microwave Peanut Brittle
Glassy, snapping peanut brittle made entirely in the microwave, no candy thermometer needed. The syrup cooks alone first for a clean amber color, the peanuts toast in the last burst, and a spoonful of baking soda foams it light. The 20 minutes include the first 6 minutes of cooling.
- Total Time: 20 minutes
- Yield: 12 servings (about 1 pound) 1x
Ingredients
- 1 cup granulated sugar
- 1/2 cup light corn syrup
- 1 1/2 cups raw unsalted peanuts
- 1 tablespoon unsalted butter, plus more for the pan
- 1 teaspoon vanilla extract
- 1 heaping teaspoon baking soda
- 1/4 teaspoon fine salt (reduce to a pinch if peanuts are salted)
Instructions
- Butter a rimmed baking sheet generously, or line it with buttered parchment, and set it beside the microwave. Measure all ingredients before starting.
- Stir the sugar and corn syrup in a large (at least 2 quart) microwave safe glass bowl until it looks like wet sand. Microwave on high for 4 minutes, until bubbling all over and still pale.
- Stir in the peanuts and salt until coated. Microwave on high for 3 minutes, until the syrup is light amber and smells like toasted nuts.
- Stir in the butter and vanilla carefully. Microwave on high for 1 minute, to a confident amber, one shade deeper than honey.
- Immediately stir in the baking soda, fast and thorough, about 10 seconds, until the mixture foams and lightens. Stop as soon as it is uniform.
- Pour onto the prepared pan in one stream and tilt to spread to about 1/4 inch thick. Do not press; guide gently with a buttered spatula.
- Cool untouched for at least 10 minutes (the first 6 are inside the total time), then break into rustic pieces. Store airtight at room temperature for up to 2 weeks.
- Prep Time: 5 minutes
- Cook Time: 9 minutes
Nutrition
- Serving Size: 1
- Calories: 185
- Sugar: 21
- Sodium: 115
- Fat: 8
- Saturated Fat: 2
- Unsaturated Fat: 6
- Trans Fat: 0
- Carbohydrates: 26
- Fiber: 1
- Protein: 4
- Cholesterol: 3