
In this article:
Why You Will Love This Peppermint White Chocolate Fudge
This peppermint white chocolate fudge works because it treats white chocolate with the respect it deserves. White chocolate contains cocoa butter but no cocoa solids, so it melts faster and seizes more easily than dark chocolate.
The sweetened condensed milk acts as a buffer, adding milk proteins and sugar that stabilize the melt and guarantee a smooth, sliceable set every single time. Peppermint extract cuts through the richness with a cool finish that keeps each square from tasting one dimensional.
The crushed candy cane topping adds a glassy crunch that contrasts the creamy base in every bite. You get a five ingredient candy that tastes like a chocolate shop purchase, made in one bowl with no thermometer.
This 20-Minute Peppermint White Chocolate Fudge is the holiday candy I make when December gets loud and my calendar gets full. It needs twenty minutes of actual work, one bowl, and five ingredients I can find at any grocery store in December.
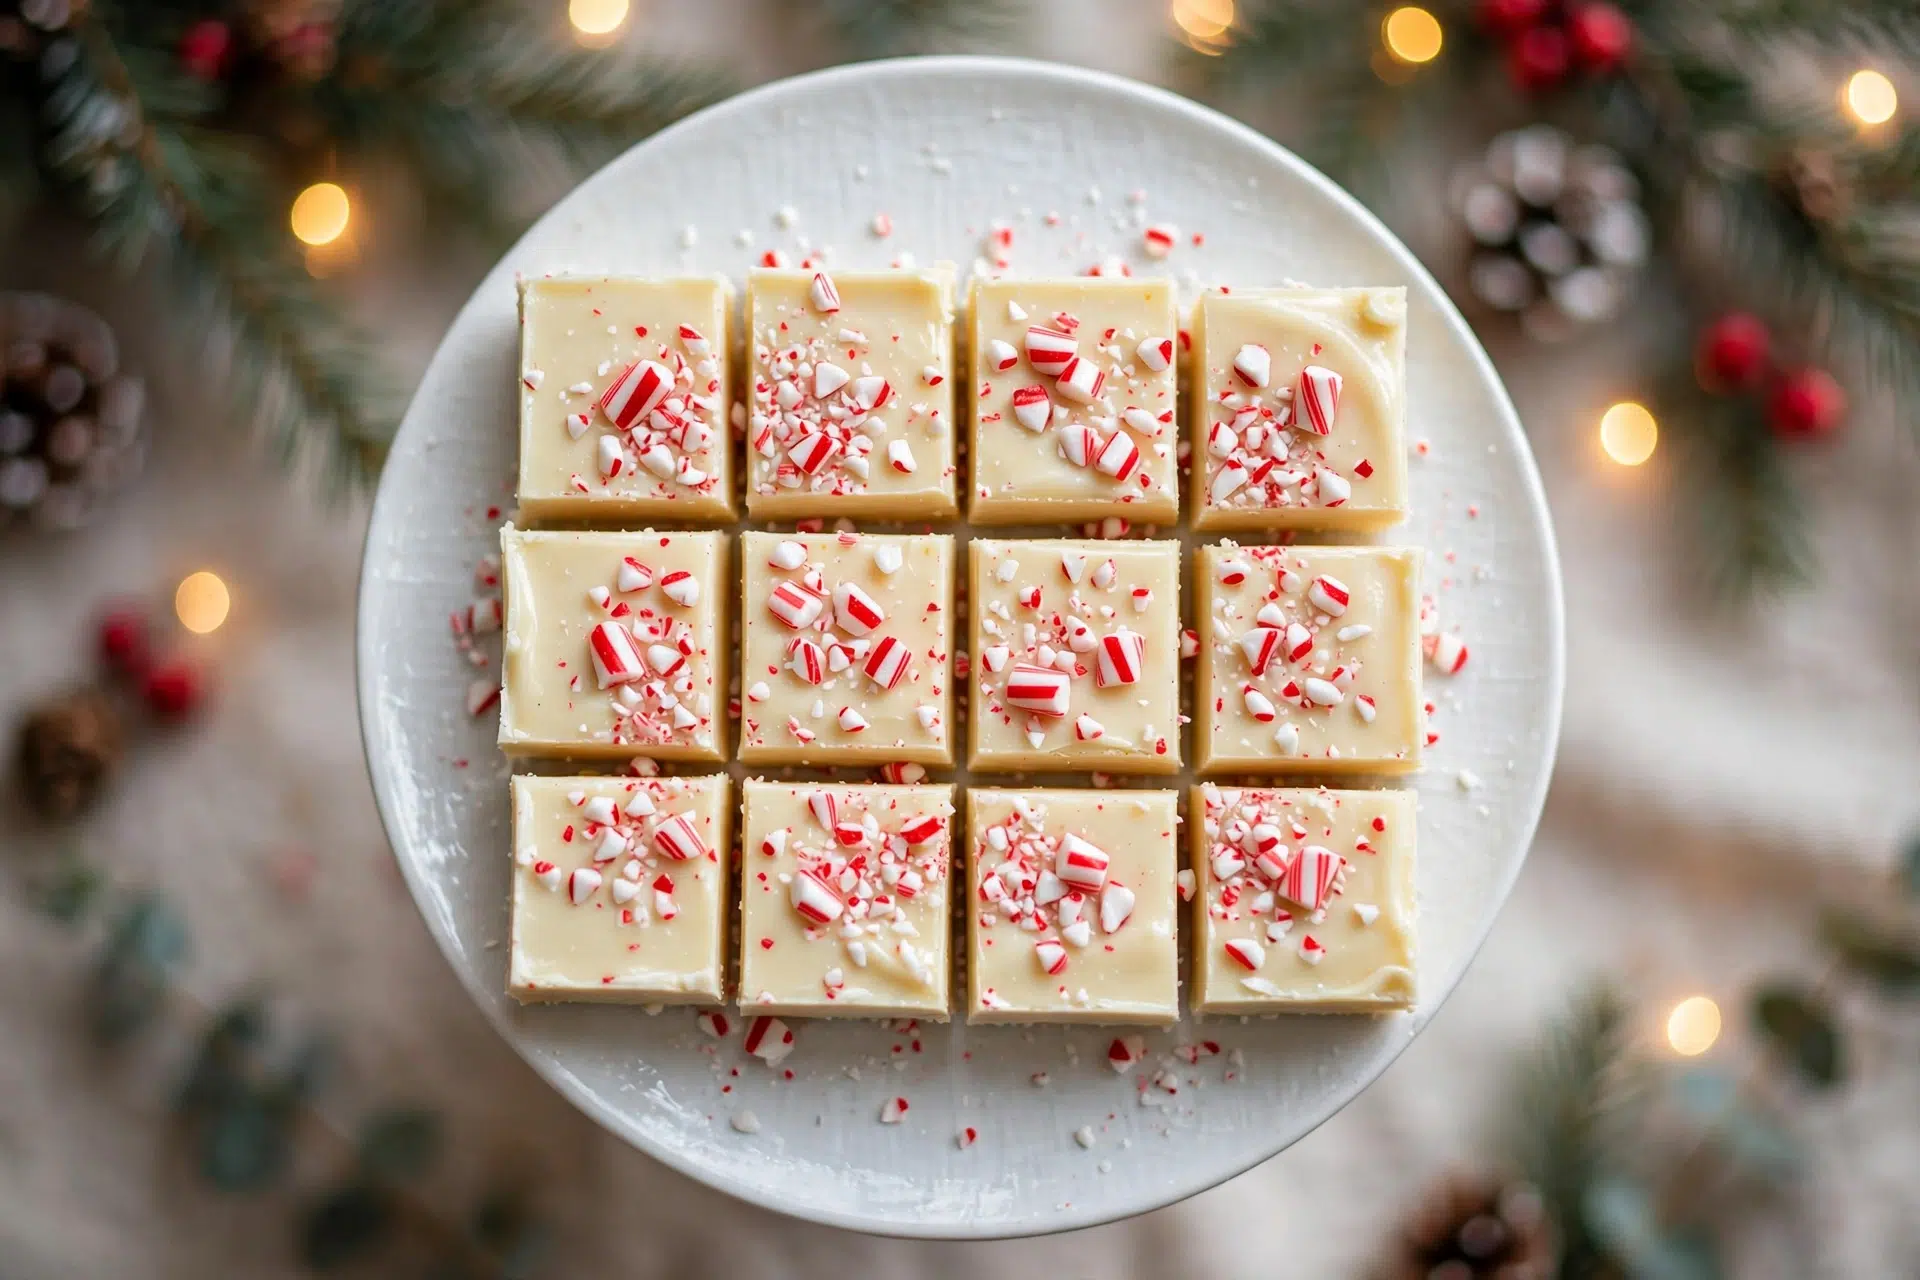
The white chocolate brings mellow vanilla sweetness while the peppermint keeps it bright and unmistakably seasonal. Each square looks like a little snow topped tile, glossy with ruby red candy shards scattered across the surface.
The first bite is cool and creamy, then the candy crunch arrives, and the finish is clean rather than heavy. It is the kind of treat that disappears from a cookie platter first, and the recipe people always ask for.
Taste and Texture Profile
The dominant flavor is sweet cream with a clear peppermint lift, never medicinal, never toothpaste like. Good white chocolate brings notes of vanilla bean, warm milk, and a faint caramel edge from the cocoa butter. The peppermint extract should whisper, not shout, which is why the recipe uses half a teaspoon rather than a full one.
Too much extract turns the whole batch sharp and perfumey, a mistake I see in many online versions that measure with a heavy hand. Start with half a teaspoon, taste the warm mixture, and add more only if you want a stronger chill.
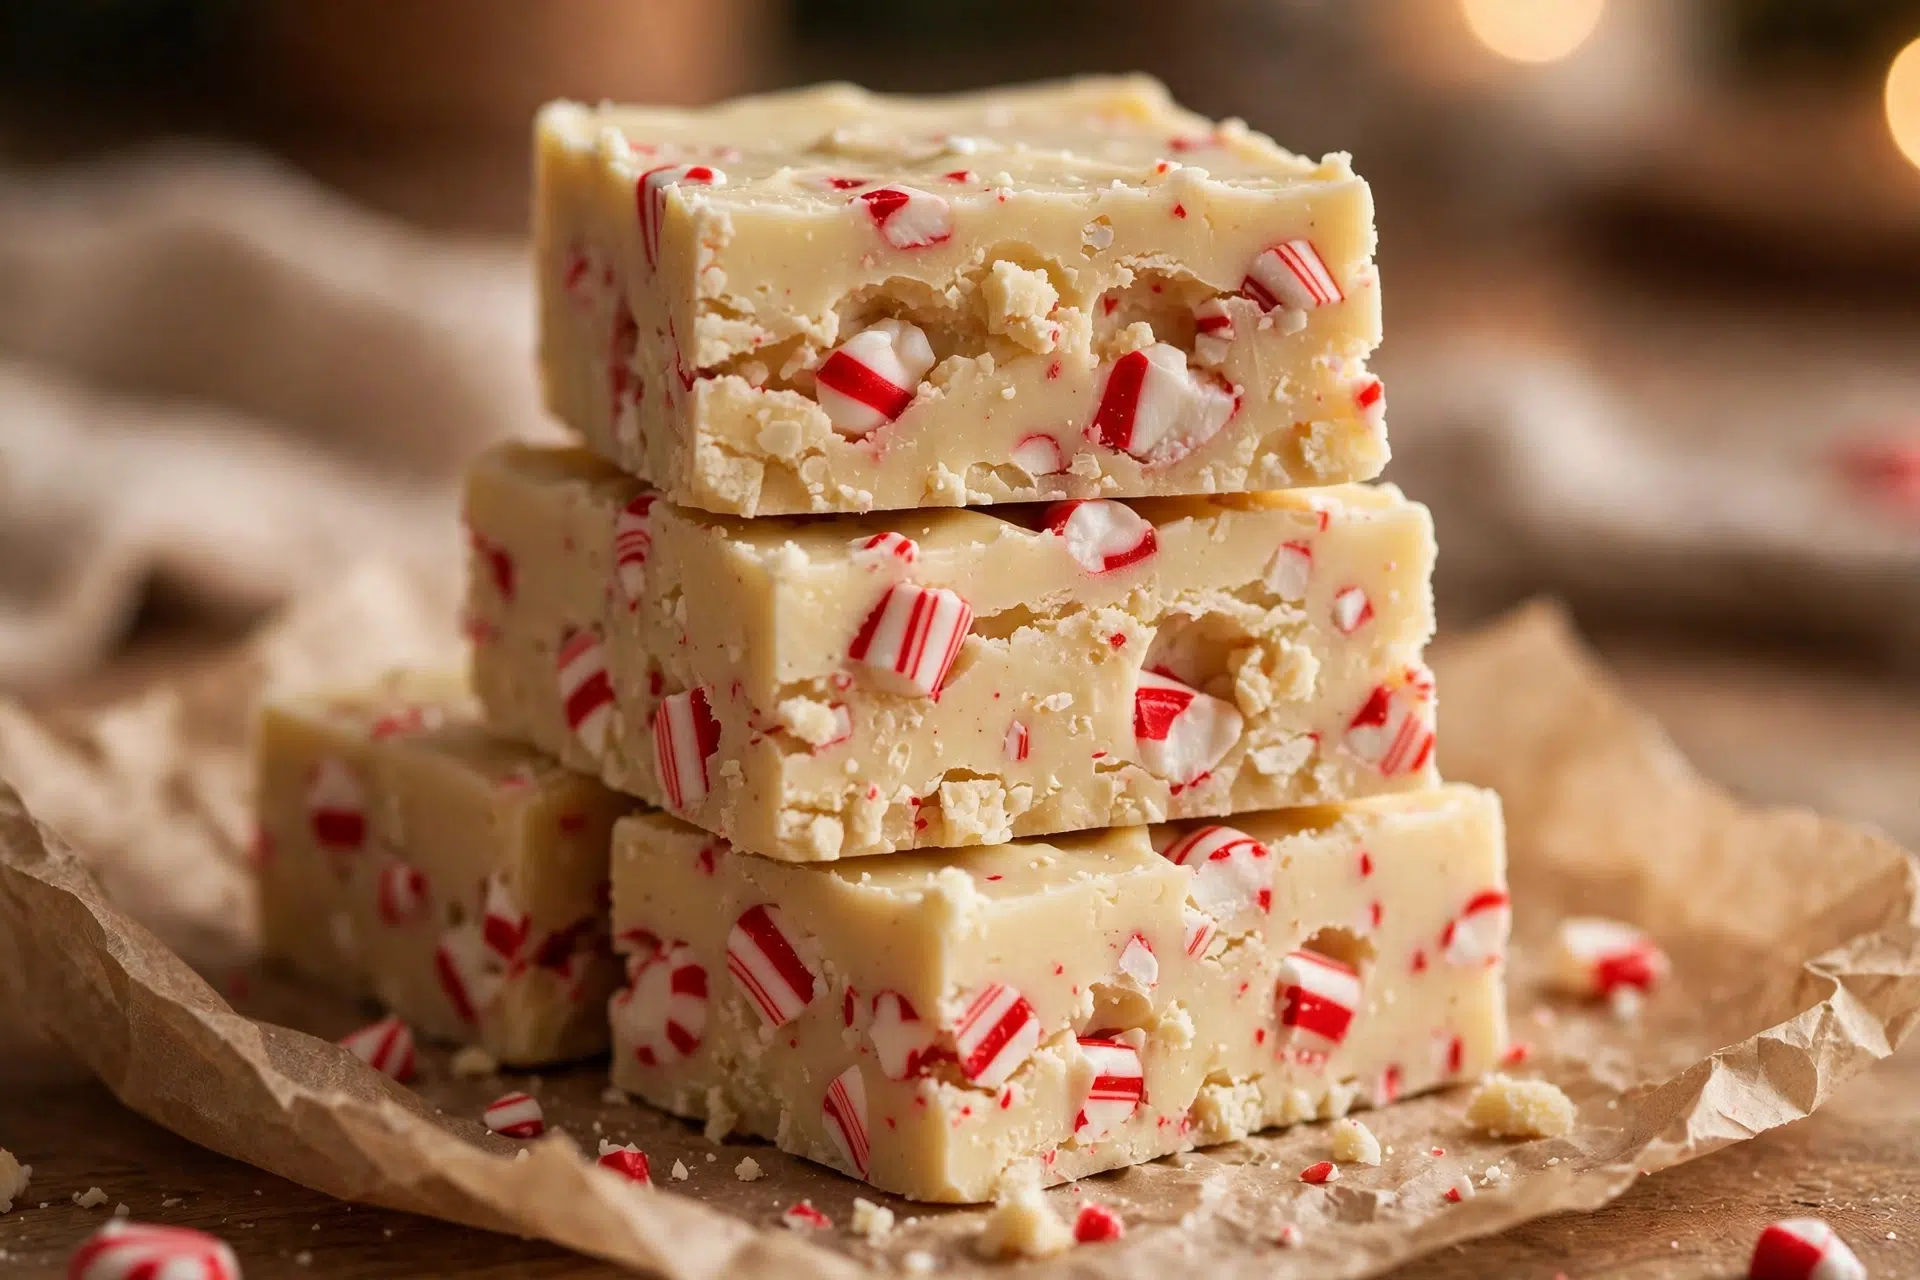
Texture is where this fudge separates itself from the average holiday candy. The base sets firm enough to hold a clean square, yet it yields the moment it hits your tongue, melting into something closer to a truffle center than a chewy caramel.
Sweetened condensed milk is the reason, because its concentrated milk solids create a dense, satiny crumb without any graininess. That single can replaces the careful sugar boiling of old fashioned fudge, which is exactly why this version never turns gritty or sugary.
Then comes the topping. Crushed candy canes do not melt into the fudge, they sit on top like stained glass, and each shard delivers a hard, cool crunch that shatters against the creamy base. That hot and cold contrast, creamy then crunchy, sweet then minty, is what makes people reach for a second piece before they have finished the first.
Visually, the fudge is a study in winter whites and reds. The surface is ivory smooth, the candy pieces catch the light like tiny jewels, and a square cut on the diagonal shows a clean edge with red flecks suspended through the interior.
Serve it chilled for the firmest snap, or at cool room temperature for the softest, most truffle like bite. Both styles are delicious, so match the serving to the moment, firm squares for gift boxes and softer ones for dessert plates.
Quick and Easy Preparation
This recipe respects your December schedule, because the active work fits inside twenty minutes from the moment you open the chocolate bag. There is no candy thermometer to babysit, no syrup to watch, and no double boiler required unless you prefer one.
The microwave does the heavy lifting in short thirty second bursts, and stirring between bursts is the only technique here.
The ingredient list is short on purpose. Five components, each with a job, nothing decorative except the candy topping that doubles as texture. You will dirty one bowl, one spatula, and one pan, so cleanup takes less time than the melting did.
Timing matters most around the holidays, so here is the honest breakdown. Twenty minutes of hands on work, then two hours of chilling while you wrap gifts or handle everything else on your list. The fudge waits patiently in the refrigerator, and it improves after an overnight rest as the peppermint mellows into the chocolate.
This is also a perfect make ahead candidate for cookie exchanges and hostess gifts. A single batch cuts into thirty six neat squares, enough to fill three small gift boxes with room to spare. Double the batch in a nine by thirteen pan when you need quantity, because the method scales without any adjustment.
It also shares a platter beautifully with our 15-Minute Apple Cinnamon Oatmeal Bake for a complete holiday dessert spread.
Lighter and Diet Adaptations
Fudge is an indulgence, and this version does not pretend otherwise, but small tweaks can lighten each square without breaking the recipe. Cutting the batch into forty eight smaller pieces instead of thirty six drops the per piece sugar noticeably, and smaller squares actually suit a dessert platter better, because guests take one, then happily come back for another.
That second trip to the platter is the whole point of a holiday candy, and smaller pieces make it easy to say yes twice.
For a lower sugar approach, look for no sugar added white chocolate chips sweetened with stevia or monk fruit, now widely available in the baking aisle. Pair them with a reduced sugar sweetened condensed milk, and keep the peppermint extract and candy topping as written for full holiday flavor.
You can compare sweetener nutrition profiles in the USDA FoodData Central database before choosing your chips for the holidays this year.
The texture sets slightly softer with sugar free chips, so add an extra thirty minutes of chill time before cutting. The flavor stays fully festive, and nobody at the party will guess the difference.
The recipe is naturally gluten free as written, since none of the five ingredients contain wheat, but always check your candy cane label because some brands process on shared lines. For a dairy free version, use dairy free white chocolate chips and sweetened condensed coconut milk, melting very gently since plant based chips scorch faster.
The peppermint extract and candy topping need no changes at all for the dairy free version, so the holiday flavor stays exactly the same.
Ingredients
- 3 cups white chocolate chips (18 oz / 510 g, good quality with cocoa butter listed first)
- 1 can (14 oz / 397 g) sweetened condensed milk
- 1/2 teaspoon peppermint extract (not mint extract)
- 1/4 teaspoon pure vanilla extract
- 1/8 teaspoon fine sea salt
- 1/2 cup crushed candy canes or hard peppermint candies, divided
Step by Step Instructions
- Line an 8 by 8 inch baking pan with parchment paper, leaving a two inch overhang on two sides to use as handles later. Lightly mist the exposed corners with cooking spray so the paper stays put. Set the pan near your work area before you start melting, because the fudge firms up fast once mixed.
- Place the candy canes in a sturdy zip top bag, seal it, and crush with a rolling pin or meat mallet until you have a mix of fine dust and pea sized shards. Measure out half a cup, then divide it into two portions, one quarter cup for folding in and one quarter cup for the topping. Set both aside.
- Combine the white chocolate chips and the full can of sweetened condensed milk in a large microwave safe bowl. Make sure every chip is coated, because the milk protects the chocolate from direct heat and prevents scorching.
- Microwave on 50 percent power for 30 seconds, then stir thoroughly with a silicone spatula, scraping the bottom and sides. Repeat in 30 second bursts at 50 percent power, stirring well each time, until about 80 percent of the chips are melted and the mixture looks glossy. This usually takes 90 seconds to 2 minutes total.
- Remove the bowl and keep stirring off the heat for a full minute. The residual warmth melts the remaining chips into a perfectly smooth mixture, and this carryover step is what keeps the white chocolate from overheating. If a few stubborn chips remain, microwave once more for just 15 seconds.
- Stir in the peppermint extract, vanilla extract, and salt until completely blended. Work quickly but gently, because over stirring at this stage can cool the mixture and make it harder to spread. Taste a tiny drop on a spoon, it should be cool and minty without any harsh bite.
- Fold in one quarter cup of the crushed candy, stirring just until the pieces are evenly distributed. Pour the fudge into the prepared pan immediately and spread it into the corners with the spatula, smoothing the top as flat as you can.
- Sprinkle the remaining quarter cup of crushed candy evenly over the surface, then press very lightly with the back of the spatula so the pieces anchor into the warm fudge. Do not press hard, or the shards will sink and disappear.
- Refrigerate uncovered for at least 2 hours, or until the center feels completely firm when pressed. Lift the fudge out using the parchment handles, place it on a cutting board, and cut into 36 squares with a large sharp knife, wiping the blade clean between cuts for the neatest edges.
Pro Tips for Perfect Results
White chocolate is the diva of the chocolate world, because it scorches at lower temperatures than dark or milk chocolate. Always melt at 50 percent microwave power, never full, and stir between every burst even if the chips still look solid. Chips hold their shape when melted, so appearance lies, and only stirring reveals the true state.
Use peppermint extract, not mint extract and not peppermint oil, unless you adjust carefully. Mint extract tastes like spearmint gum, which reads as toothpaste in candy, while peppermint oil is roughly four times stronger than extract and can turn bitter.
If oil is all you have, dip a toothpick in the oil and stir it through, then taste before adding more.
Do not skip the salt. An eighth of a teaspoon sounds like nothing in a batch this sweet, but it rounds out the vanilla notes and keeps the white chocolate from tasting flat. It will not make the fudge salty, it makes it taste more like itself.
For the glossiest top, smooth the fudge quickly after pouring and add the candy topping within two minutes. As the surface cools it forms a skin, and candy pressed onto a skinned surface falls off when you cut. Work with confidence and keep everything measured before you start melting.
If your fudge looks slightly oily after melting, the chocolate got a touch too warm, but the batch is salvageable. Stir in one tablespoon of warm milk and keep stirring gently until the mixture comes back together into a smooth emulsion. It will set normally in the refrigerator.
Easy Swaps and Tasty Variations
A dark chocolate swirl turns this into a tuxedo fudge that looks bakery case worthy. Melt half a cup of dark chocolate chips separately, drizzle over the poured white fudge, and drag a toothpick through both layers in lazy S curves before adding the topping. The slight bitterness of dark chocolate makes the peppermint pop even more.
Serious chocolate lovers should also try our silky Chocolate Pudding for another fuss free make ahead dessert that always disappears first.
For a cookies and cream holiday version, skip the candy canes and fold in one cup of crushed chocolate sandwich cookies instead, pressing a few extra crumbs on top. The flavor shifts from minty fresh to nostalgic and kid friendly, which is perfect for classroom gifts.
Espresso lovers can swap the peppermint extract for one teaspoon of instant espresso powder dissolved in the vanilla extract. The result tastes like a white chocolate mocha truffle, sophisticated and completely different, with the same quick method.
If candy canes are sold out, which happens every December, use starlight mints, peppermint bark pieces, or crushed peppermint puff candies. Avoid soft mint candies or after dinner mints, because they melt into streaks instead of staying crunchy.
For color without candy, a drop of red gel food coloring swirled through the finished fudge creates a marbled pink and white effect that looks stunning in gift boxes. Add it at the very end and swirl just twice, because over mixing turns the whole batch pink.
How to Store and Make Ahead
This peppermint white chocolate fudge is a true make ahead champion, which is exactly what December demands. Once cut, layer the squares between sheets of wax paper in an airtight container and refrigerate for up to three weeks. The flavor deepens after the first 24 hours as the peppermint settles evenly through the chocolate.
For longer storage, the fudge freezes beautifully for up to three months. Wrap the whole uncut slab tightly in plastic wrap, then in foil, and freeze, or freeze individual squares in a single layer before bagging them. Thaw overnight in the refrigerator, never on the counter, so condensation does not make the surface sticky.
At room temperature, the fudge holds its shape for about two hours, which covers any party. Beyond that the squares start to slump, so return the platter to the refrigerator between servings on warm days.
For gifting, pack squares in small candy boxes or mason jars lined with parchment, and tuck in a note with the storage guidance. The fudge travels well in cool weather, making it ideal for mailing to family, just avoid shipping during a heat wave.
For more guidance on keeping homemade sweets safe, the storage charts at FoodSafety.gov cover dairy based treats in detail.
Conclusion
This 20-Minute Peppermint White Chocolate Fudge proves that the best holiday candy is often the simplest one. Five ingredients, one bowl, twenty minutes of work, and a result that tastes like it came from a specialty shop. Make it once for your own cookie platter, then make a double batch, because the second one always becomes gifts.
And when fall cravings hit, our 20-Minute Creamy Pumpkin Pasta brings the same weeknight ease to your dinner table.
That is the real magic of this recipe, it multiplies joy far faster than it multiplies effort, and every December deserves at least one recipe like that.
Print
20-Minute Peppermint White Chocolate Fudge
20-minute peppermint white chocolate fudge with crushed candy canes.
- Total Time: 20 minutes active, plus 2 hours chilling
- Yield: 36 squares 1x
Ingredients
- 3 cups (18 oz) white chocolate chips
- 1 can (14 oz) sweetened condensed milk
- 2 tablespoons unsalted butter
- 1/8 teaspoon fine sea salt
- 1/2 teaspoon peppermint extract
- 1/2 cup crushed candy canes, divided
Instructions
- Line an 8×8 inch baking pan with parchment paper, leaving overhang on two sides for easy lifting.
- Combine the white chocolate chips, sweetened condensed milk, butter, and salt in a large microwave safe bowl.
- Microwave at 50 percent power for 90 seconds, then stir well.
- Continue microwaving in 30 second bursts at 50 percent power, stirring between each burst, until the chips are about 80 percent melted.
- Stir vigorously off the heat until completely smooth and glossy, about 1 minute.
- Stir in the peppermint extract and half of the crushed candy canes.
- Pour into the prepared pan and smooth the top quickly with a spatula.
- Sprinkle the remaining crushed candy canes evenly over the surface within 2 minutes.
- Refrigerate at least 2 hours or overnight until firm, then lift out and cut into 36 squares.
- Prep Time: 15 minutes
- Cook Time: 5 minutes
FAQ
Why did my white chocolate seize into a grainy clump when I melted it for this peppermint fudge?
White chocolate seizes when a drop of water hits the melting chips, or when it gets too hot too fast. Use a completely dry bowl and spatula, melt at 50 percent power in short bursts, and stir between bursts. If it seizes, stir in warm milk one tablespoon at a time until smooth.
Can I use peppermint oil instead of peppermint extract in this white chocolate fudge?
You can, but peppermint oil is about four times stronger than extract, so use far less. Dip a clean toothpick into the oil, stir it through the melted fudge, taste, and repeat only if needed. Adding even a quarter teaspoon of oil at once will make the fudge taste harsh and medicinal.
Why is my peppermint white chocolate fudge sticky on top after cutting it?
Fudge often feels tacky right after cutting because the knife drags warm cocoa butter across the surface. Let the cut squares rest uncovered at cool room temperature for 30 minutes. If your kitchen is warm, rest them in the refrigerator instead.
Can I make this fudge without sweetened condensed milk?
Sweetened condensed milk is what gives this no bake fudge its reliable set, so replacing it changes the recipe fundamentally. Evaporated milk plus extra sugar will not set the same way. If you need to avoid it, look for a traditional cooked fudge recipe with a candy thermometer instead of adapting this one.
How do I cut clean, neat squares of white chocolate fudge without crumbling the candy topping?
Chill the slab for the full two hours until completely firm, then use a large sharp chef knife rather than a serrated one. Run the blade under hot water, wipe it dry, make one cut, and repeat the hot wipe between every cut. The heat glides through the fudge and the candy shards instead of shattering them.
2 commentaires sur « 20-Minute Peppermint White Chocolate Fudge »