
In this article:
- Why These Garlic Green Beans Beat the Casserole This Year
- Bright, Snappy, and Edged With Crunch
- The Dry Bean Rule That Fixes Soggy Green Beans
- Crispy Shallots in Four Minutes, No Deep Fryer
- Ingredients for Garlic Green Beans
- Blanch, Dry, Sear: Three Moves, Fifteen Minutes
- Sliced Garlic, Added Late, Never Burned
- Blanch Today, Sear Tomorrow: The Thanksgiving Plan
- Lemon, Almonds, and a Chili Flake Option
- Leftovers, Reheating, and Keeping the Crunch
- The Side That Frees Your Oven
- FAQ
Why These Garlic Green Beans Beat the Casserole This Year
Garlic green beans win on contrast: snapping beans, glossy butter, and a tumble of shallots so crisp they stay audible at the table. The casserole asks for an hour and a can opener. This skillet version asks for fifteen minutes and a hot pan.
The method is borrowed from restaurants, where green beans are blanched in batches all morning, then finished to order in minutes. A short salted blanch sets the color and seasons the beans from the inside, so the final sear can be fast and fierce.
Drying is the quiet hero, and the section below gives it the attention it deserves. Wet beans steam and sulk in the pan. Bone dry beans blister at the edges, pick up real sear, and carry the garlic butter like a sauce.
The shallots fry separately in a shallow slick of oil, tossed in a spoonful of flour that turns them lacy and golden. Because they go on at the very end, they keep their crunch against the hot beans instead of softening into the sauce that never comes.
There is no canned soup, no cheese blanket, and nothing to hide behind. What you taste is the bean itself, clean and green, with garlic warmth and a bright squeeze of lemon pulling everything into focus.
Garlic green beans are the side I make when the oven schedule collapses, which is to say every Thanksgiving around four in the afternoon. The turkey owns the oven, the rolls are waiting, and this dish simply does not care.
It happens entirely on the stove, in one wide skillet, while someone else carves. The platter lands steaming and vivid next to the browned, heavy dishes, and it is always the first vegetable to vanish.
The bite explains why. Each bean snaps rather than bends, the garlic sits in warm slices instead of harsh raw shreds, and the shallots shatter over the top like the crispy onions everyone fights for, only fresher.
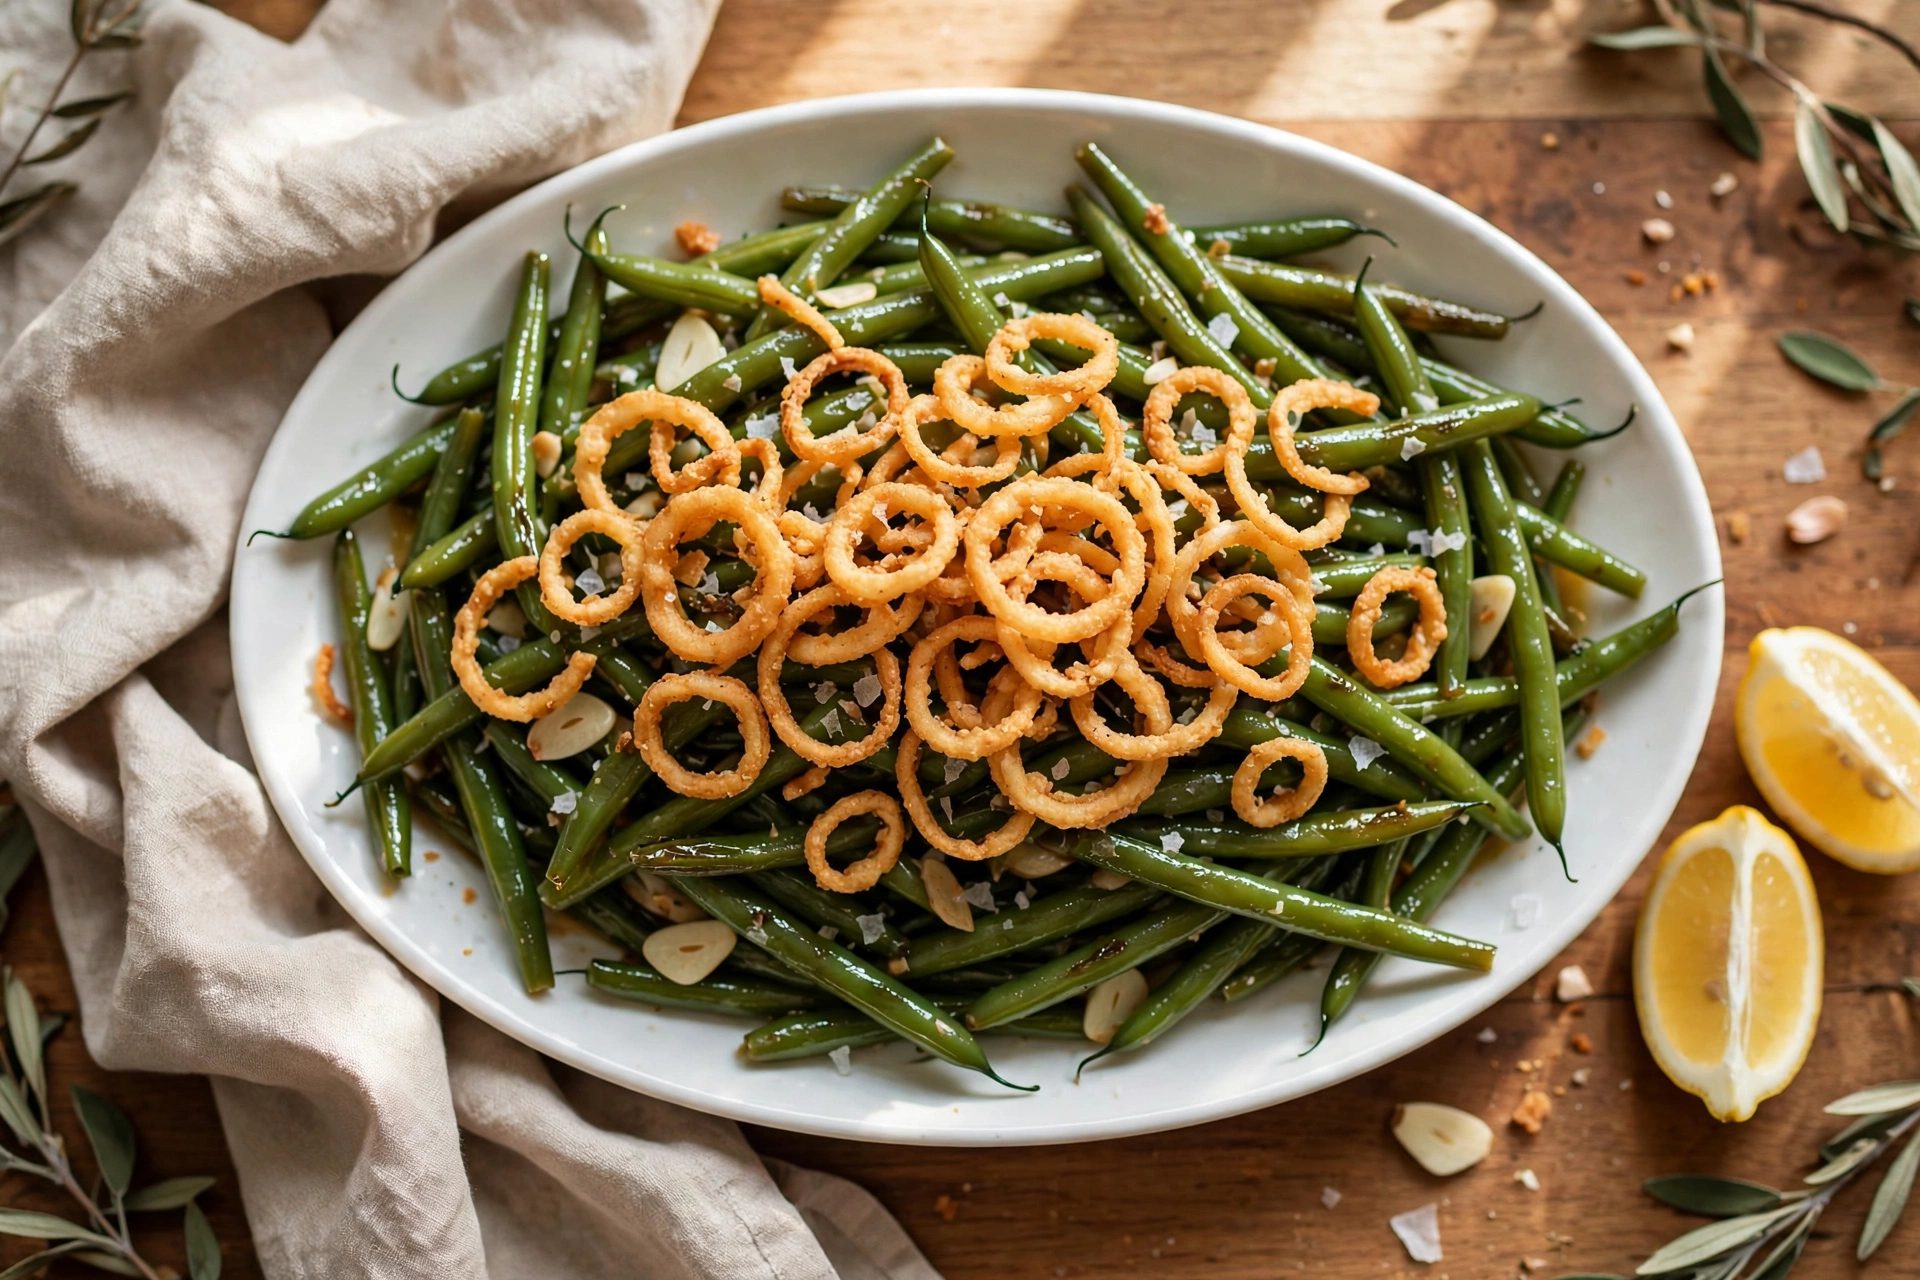
Bright, Snappy, and Edged With Crunch
Fresh green beans carry a grassy sweetness that long cooking erases. Three minutes in salted water keeps that sweetness awake, and the ice bath locks in a color so green it looks almost electric against the turkey.
Butter and olive oil share the pan for a reason. The oil raises the smoke point and helps the beans blister, while the butter brings the round, nutty flavor that makes a simple side taste deliberate.
Garlic, sliced into thin coins, toasts at the edges and turns sweet. It perfumes the fat without the acrid bite that minced garlic develops when it browns too far in a ripping hot skillet.
The shallots are the texture headline. Fried until deep gold, they taste faintly sweet and oniony, and their lacy rings catch on the beans so nearly every forkful carries a little crunch.
Lemon does the final editing. A teaspoon of zest and a few drops of juice lift the butter, sharpen the garlic, and keep the whole platter tasting fresh rather than rich.
Served straight from the skillet or piled on a warm platter, the dish reads as effort. Nobody at the table needs to know the clock read fifteen minutes.
Temperature matters more than garnish here. Beans that sit in a cold dish lose their gloss and their snap within minutes, so warm the platter while the shallots fry. A hot plate buys you the whole walk to the table.
The Dry Bean Rule That Fixes Soggy Green Beans
Here is the whole secret, and it costs nothing: after the ice bath, the beans must be completely dry before they meet the skillet. Water is the enemy of sear, and a blanched bean carries a surprising amount of it.
Spread the drained beans on a clean kitchen towel in a single layer and roll them gently. Two minutes of patting does what ten extra minutes in the pan cannot, because a wet bean steams itself limp before it ever browns.
The skillet tells you when you got it right. Dry beans sizzle on contact and stay lively. Wet beans hiss, flood the pan with liquid, and come out the olive gray color of every sad buffet tray.
Pan size plays a part too. The beans need a single layer with breathing room, so reach for the widest skillet you own, twelve inches if you have it. If the batch doubles for a crowd, sear in two rounds rather than one deep pile.
This is also why the blanch matters for speed. The beans arrive at the skillet nearly cooked, so the sear is about surface and gloss, not about waiting for raw centers to soften.
According to the National Center for Home Food Preservation, blanching times for green beans run about three minutes for even cooking, which matches the texture we want here: tender with a firm spine. Their guidance lives at nchfp.uga.edu, a reliable bookmark for vegetable prep.
Crispy Shallots in Four Minutes, No Deep Fryer
The topping that makes garlic green beans taste like a holiday is a four minute side project. Slice two large shallots into thin rings, separate them, and toss with a tablespoon of flour and a pinch of salt.
Shallow fry them in three tablespoons of oil over medium high heat, stirring now and then, until the rings turn deep gold at the edges. They darken fast at the end, so pull them a shade early onto a paper towel.
Drained and salted while hot, the shallots crisp further as they cool. Fry them while the beans blanch, and the topping waits patiently, out of the way, until the platter is ready.
Store bought fried onions can substitute in a true emergency, but the fresh rings are brighter and less greasy. On Thanksgiving, when everything else leans heavy, that freshness earns its four minutes.
Ingredients for Garlic Green Beans
The list is short and the roles are clear. Buy beans that feel firm and snap cleanly when bent; limp beans will never give you the texture this dish is built on.
- 1 1/2 pounds fresh green beans, stem ends trimmed
- 1 tablespoon fine sea salt, for the blanching water, plus more to finish
- 2 large shallots, sliced into thin rings
- 1 tablespoon all-purpose flour
- 3 tablespoons neutral oil, for frying the shallots
- 1 tablespoon olive oil
- 1 tablespoon unsalted butter
- 4 garlic cloves, sliced into thin coins
- 1/2 teaspoon freshly ground black pepper
- 1 teaspoon lemon zest, plus 2 teaspoons lemon juice
- Flaky sea salt, for finishing
- 2 tablespoons toasted sliced almonds, optional
Blanch, Dry, Sear: Three Moves, Fifteen Minutes
Read the sequence once before you start, because the skillet phase moves quickly. The shallots and the blanch can share the same five minutes if you fry first and blanch second.
- Bring a large pot of water to a rolling boil and salt it well. Add the green beans and blanch for 3 minutes, until bright green and just tender with a firm bite.
- Drain the beans and plunge them into a bowl of ice water for 2 minutes. Drain again, then spread on a clean towel and pat completely dry.
- Toss the shallot rings with the flour and a pinch of salt. Heat the neutral oil in a large skillet over medium high heat and fry the shallots, stirring often, for 3 to 4 minutes until deep golden. Lift out onto a paper towel and salt lightly.
- Wipe out the skillet. Add the olive oil and butter over high heat. When the butter foams, add the dry beans in a single layer and sear for 2 minutes without moving them.
- Toss the beans, add the sliced garlic and black pepper, and cook 1 to 2 minutes more, until the garlic coins turn pale gold at the edges and the beans blister in spots.
- Take the pan off the heat. Shower over the lemon zest and juice, toss once, and taste for salt.
- Pile the beans onto a warm platter, scatter the crispy shallots over the top with the almonds if using, finish with flaky salt, and serve immediately.
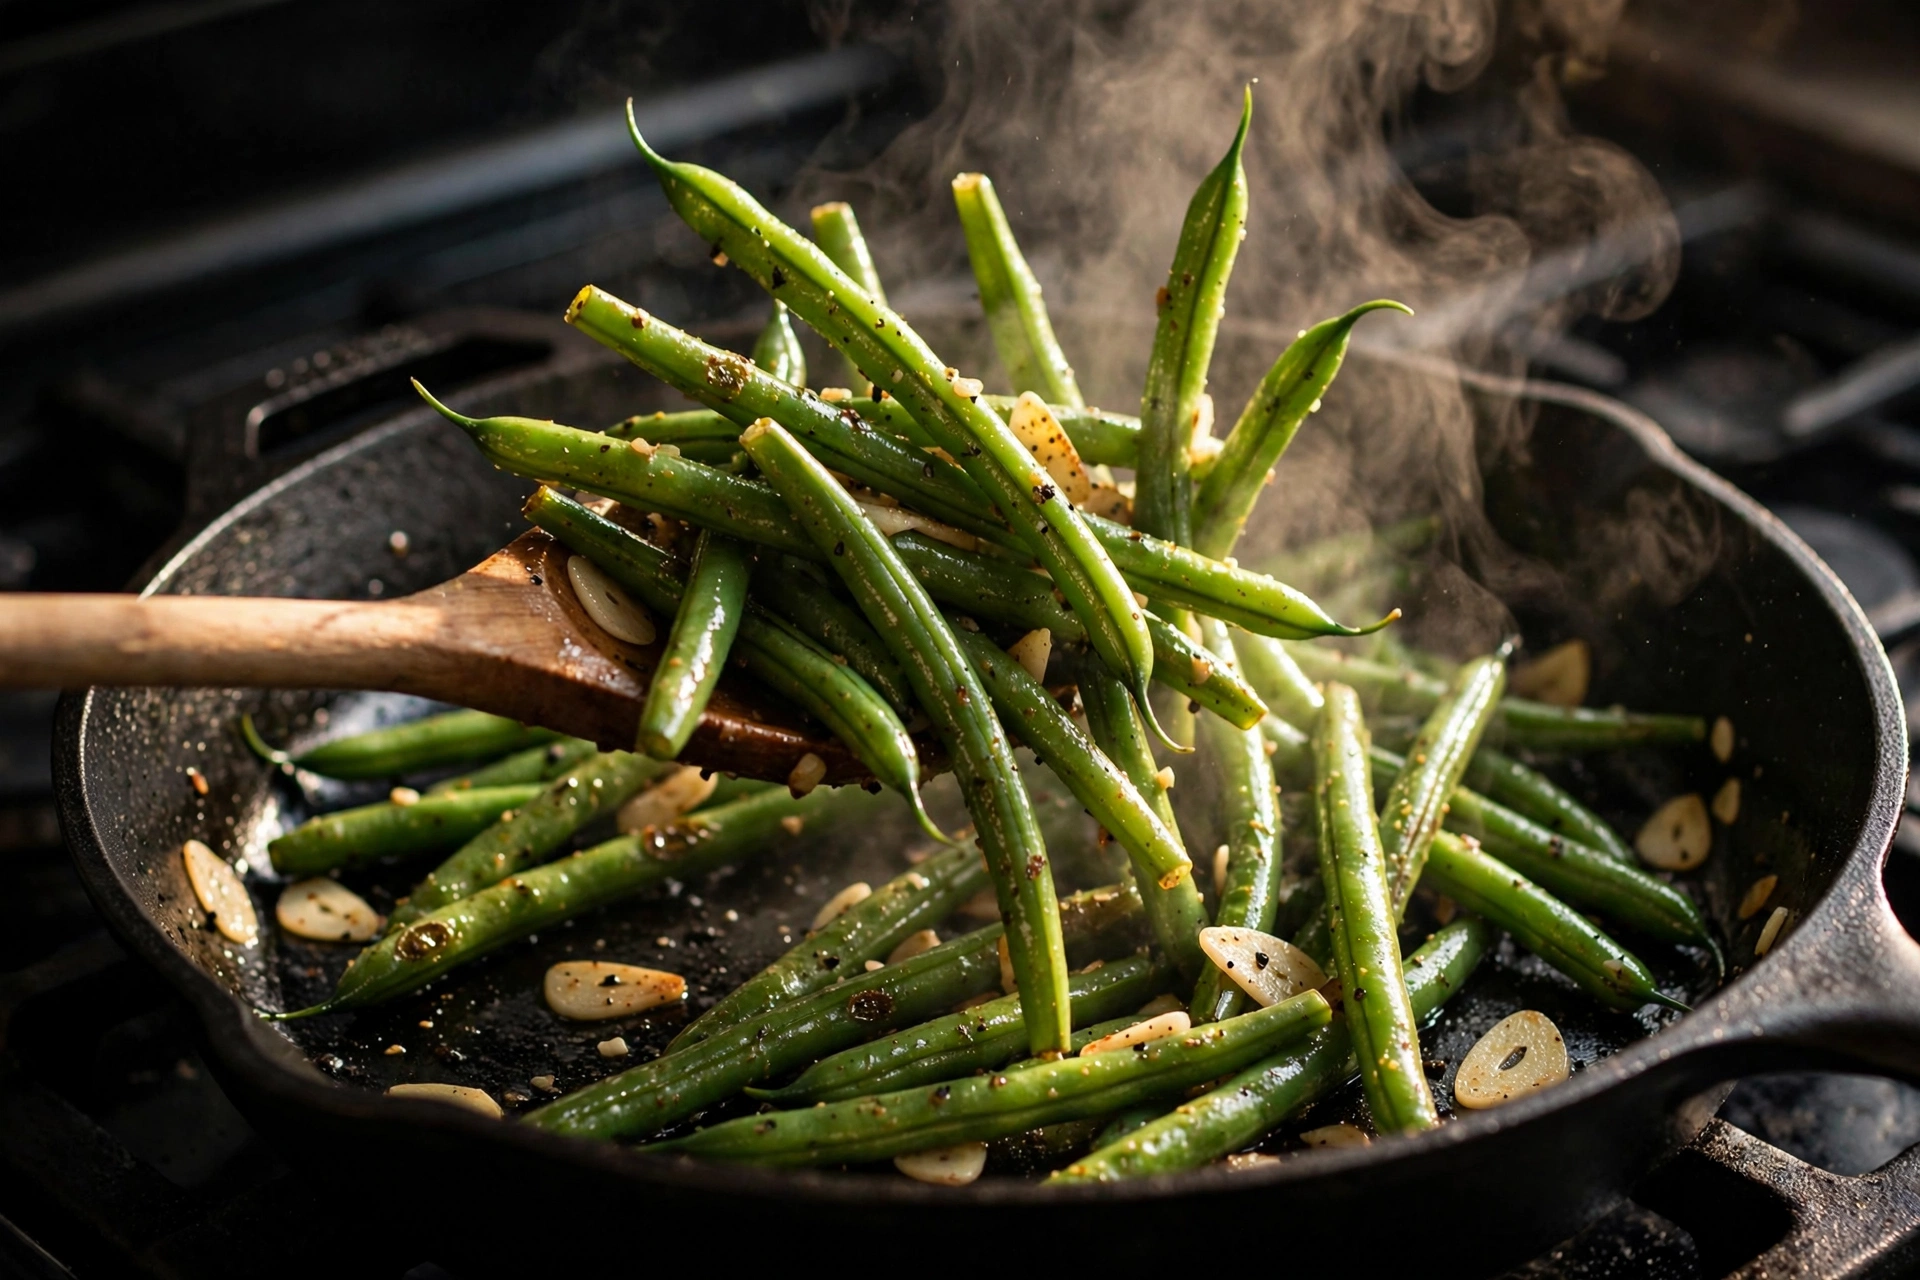
Sliced Garlic, Added Late, Never Burned
Most garlic failures in a skillet come down to two choices: the cut and the clock. Minced garlic has enormous surface area, so it races past golden into bitter before the beans have even warmed through.
Coins behave better. A thin slice toasts slowly at the edges, stays sweet, and reads as an ingredient rather than a seasoning. You see them in the finished dish, pale gold against the green, and they eat like tiny chips.
Timing seals it. The garlic joins only after the beans have their sear, and it cooks for a minute, maybe two. The residual heat finishes it gently while the lemon goes on.
If you love a bigger garlic presence, add a fifth clove rather than an earlier start. More slices, same short window, keeps the flavor round instead of sharp.
Blanch Today, Sear Tomorrow: The Thanksgiving Plan
This is where garlic green beans earn their place on a crowded holiday. Blanch, shock, and dry the beans up to a day ahead, then refrigerate them in a towel lined container. The day of, the dish takes five minutes.
The shallots also hold. Fry them in the morning, cool completely, and keep them at room temperature in a loosely covered bowl. They stay crisp for hours and need no reheating.
On the day, the skillet work is a single calm sequence while the turkey rests. If the rest of your menu still needs a plan, our 15 minute turkey gravy runs on the same clock and frees the same stovetop space.
Scaling up is painless. The blanch handles two pounds as easily as one, working in two quick batches, and the shallot frying doubles without complaint. Only the sear insists on its single layer, so plan two skillet rounds and keep the first warm in a low oven.
Build the rest of the plate around that rhythm: skillet creamed corn for sweetness, maple pecan mashed sweet potatoes for the make ahead anchor, and fluffy dinner rolls to catch the gravy.
And if your family insists on the baked classic too, the 30 minute green bean casserole covers that craving. Serving both is not excessive. It is diplomacy.
Lemon, Almonds, and a Chili Flake Option
The base recipe is a frame, and the variations hang neatly on it. Toasted sliced almonds add a second crunch that plays well against the shallots, especially for a weeknight plate.
A pinch of red pepper flakes with the garlic gives gentle heat that suits richer menus. Start with a quarter teaspoon; the beans should glow, not burn.
For a brown butter version, let the butter foam and turn hazelnut colored before the beans go in, and finish with a few torn sage leaves. It leans deeper and more autumnal.
A sesame ginger turn works for weeknights: swap the butter for a teaspoon of sesame oil at the end, add grated ginger with the garlic, and finish with sesame seeds instead of almonds. Same skeleton, entirely different accent.
Green beans are modest in calories and carry useful fiber and vitamin C for a holiday plate; the USDA FoodData Central database lists the full profile if you track such things. The lemon and fresh herbs keep that lightness intact.
Leftovers, Reheating, and Keeping the Crunch
Leftover garlic green beans keep for three days in the fridge, sealed, with one rule: the shallots live separately in a dry container at room temperature. Refrigerated shallots soften within hours.
Reheat the beans in a hot dry skillet for two minutes, not the microwave. The pan revives the gloss and the edges, and the shallots go back on top at the last second, crisp as ever.
Cold leftovers have their own charm chopped into a grain bowl or folded into a frittata. The garlic and lemon already did the seasoning work for you.
Freezing is not their friend once dressed, since the butter and lemon dull and the beans soften. If you must freeze, freeze the blanched undressed beans on their own, then sear from thawed on serving day.
The Side That Frees Your Oven
Garlic green beans ask for a pot, a towel, and one hot skillet, and they return the freshest plate on the Thanksgiving table. Blanch, dry, sear, and let the shallots do their shattering work on top.
Make them once on a Tuesday to learn the rhythm, and the holiday version will feel like nothing at all. Fifteen minutes, start to finish, with the oven left to the dishes that truly need it.
Happy cooking, and may your shallots stay crisp. Hanna
FAQ
Do I really need to blanch garlic green beans before sauteing?
For this 15 minute result, yes. Blanching seasons the beans inside, sets the bright color, and means the skillet phase is only about searing. Raw beans in a pan take twice as long and cook unevenly, with wrinkled skins and hard centers.
Why did my green beans come out soggy instead of snappy?
Water is almost always the cause. Beans that go into the skillet still wet from the ice bath steam instead of sear. Dry them on a towel until the surfaces look matte, use high heat, and do not crowd the pan.
Can I make the crispy shallots ahead of time?
Yes. Fry them up to 8 hours ahead, cool them completely, and store them uncovered or loosely covered at room temperature. Keep them out of the fridge, where the humidity softens them. A 30 second warm up in a dry pan revives them if needed.
Can I use frozen green beans for this recipe?
You can, with a change: skip the blanch, thaw the beans fully, and dry them very well on towels, since frozen beans release extra water. Sear in two batches so the pan stays hot, and expect a slightly softer bite than fresh.
What can I substitute for the shallots on top?
Thinly sliced red onion rings, floured and fried the same way, are the closest swap and take the same 3 to 4 minutes. For a no fry option, use toasted sliced almonds and a handful of crispy panko toasted in butter until golden.
Garlic Green Beans
Garlic green beans in 15 minutes: a 3 minute salted blanch, a complete dry on a towel, then a fierce skillet sear with sliced garlic, lemon zest and a shower of flour fried crispy shallots. No canned soup, no oven, all snap and crunch.
- Total Time: 15 minutes
- Yield: 6 servings 1x
Ingredients
- 1 1/2 pounds fresh green beans, stem ends trimmed
- 1 tablespoon fine sea salt, for the blanching water, plus more to finish
- 2 large shallots, sliced into thin rings
- 1 tablespoon all-purpose flour
- 3 tablespoons neutral oil, for frying the shallots
- 1 tablespoon olive oil
- 1 tablespoon unsalted butter
- 4 garlic cloves, sliced into thin coins
- 1/2 teaspoon freshly ground black pepper
- 1 teaspoon lemon zest, plus 2 teaspoons lemon juice
- Flaky sea salt, for finishing
- 2 tablespoons toasted sliced almonds, optional
Instructions
- Bring a large pot of water to a rolling boil and salt it well. Add the green beans and blanch for 3 minutes, until bright green and just tender with a firm bite.
- Drain the beans and plunge them into a bowl of ice water for 2 minutes. Drain again, then spread on a clean towel and pat completely dry.
- Toss the shallot rings with the flour and a pinch of salt. Heat the neutral oil in a large skillet over medium high heat and fry the shallots, stirring often, for 3 to 4 minutes until deep golden. Lift out onto a paper towel and salt lightly.
- Wipe out the skillet. Add the olive oil and butter over high heat. When the butter foams, add the dry beans in a single layer and sear for 2 minutes without moving them.
- Toss the beans, add the sliced garlic and black pepper, and cook 1 to 2 minutes more, until the garlic coins turn pale gold at the edges and the beans blister in spots.
- Take the pan off the heat. Shower over the lemon zest and juice, toss once, and taste for salt.
- Pile the beans onto a warm platter, scatter the crispy shallots over the top with the almonds if using, finish with flaky salt, and serve immediately.
- Prep Time: 8 minutes
- Cook Time: 7 minutes
1 commentaire sur « 15-Minute Garlic Green Beans With Crispy Shallots »