
In this article:
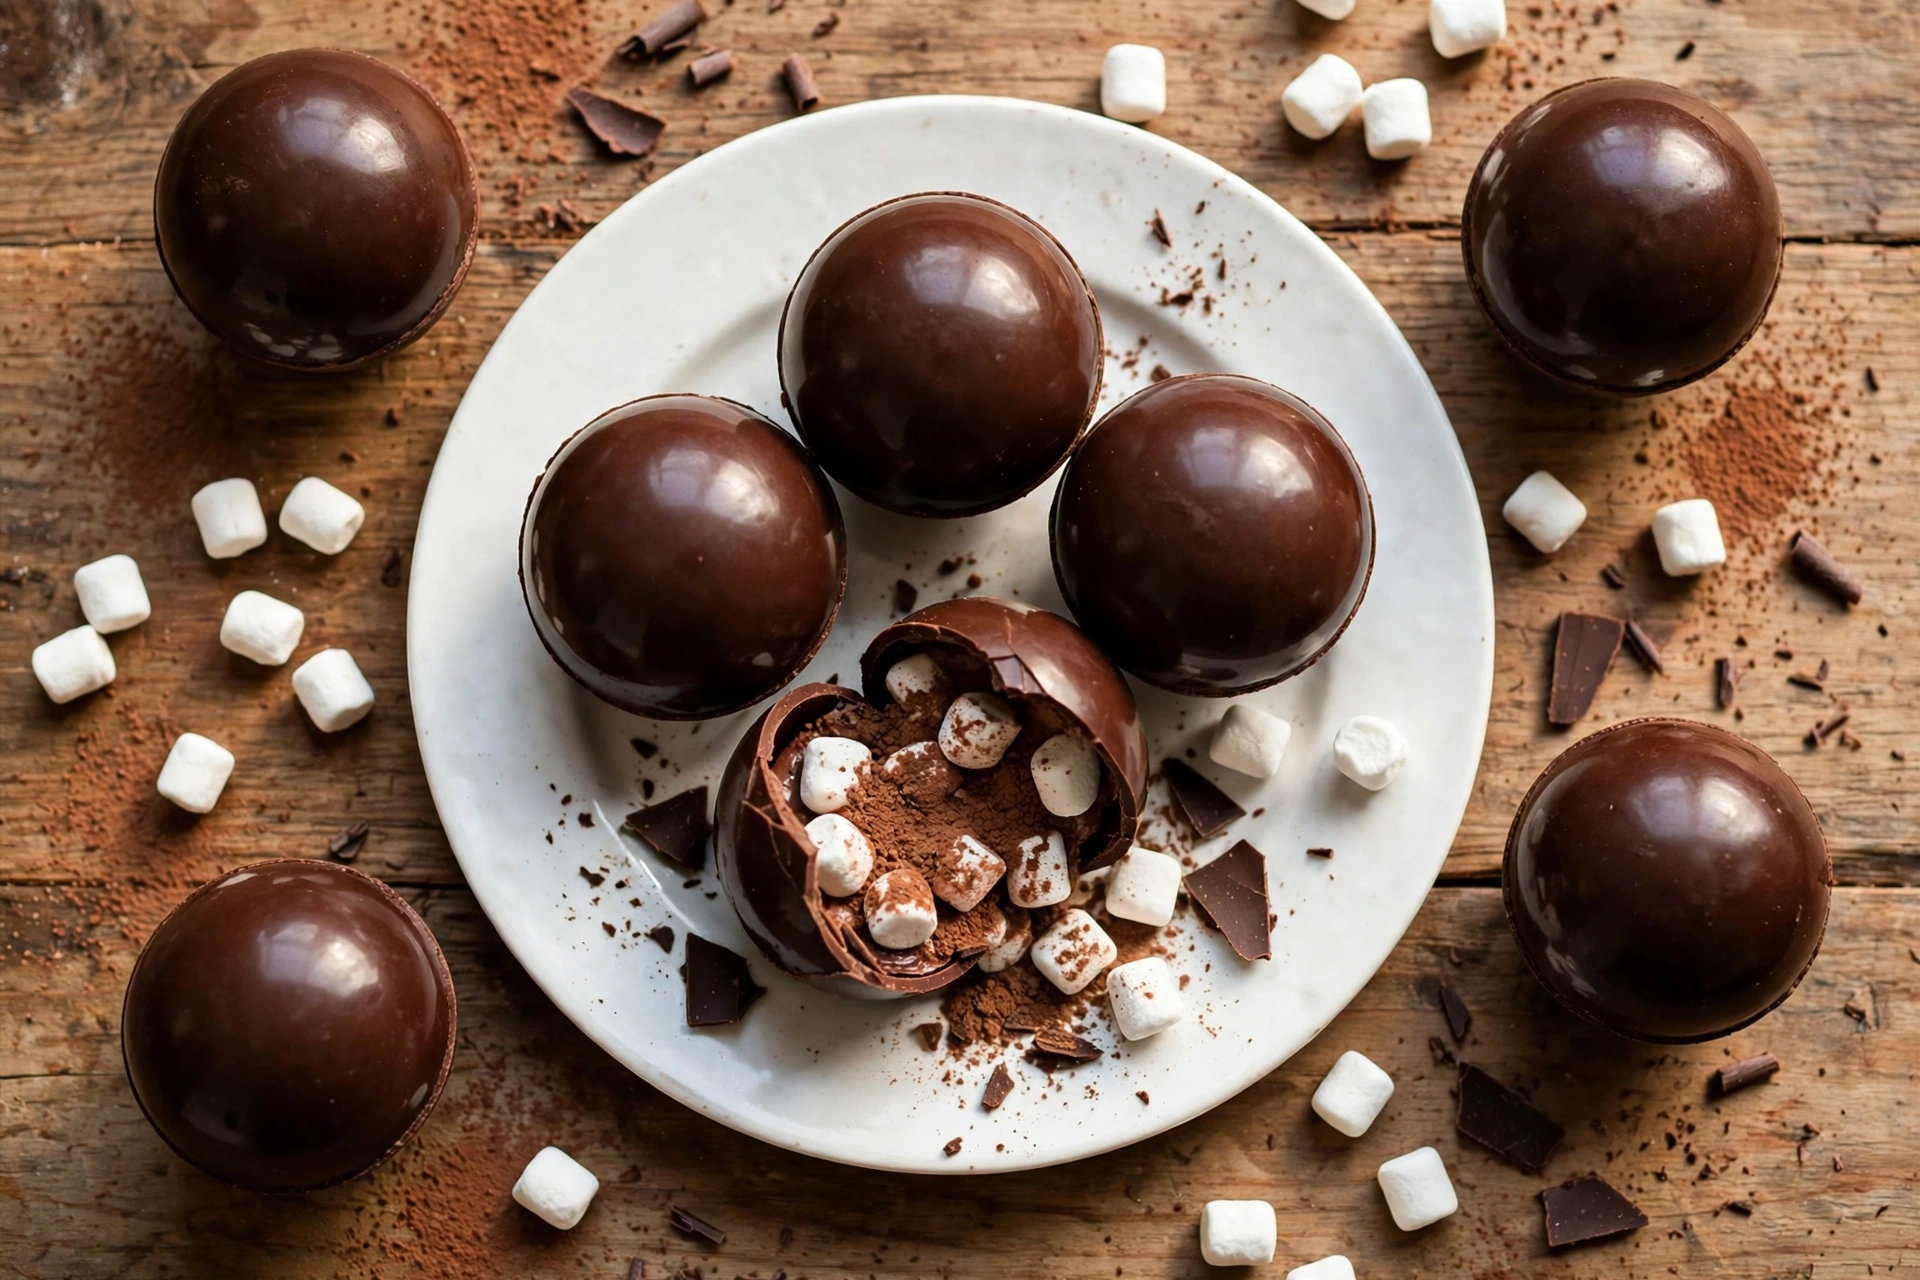
These 20-Minute Hot Chocolate Bombs turn a plain mug of warm milk into pure holiday theater. The shell looks like an ordinary chocolate truffle until steaming milk pours over it.
Then it cracks with a soft hiss, and a swirl of cocoa and tiny marshmallows blooms to the surface. The first sip tastes deep and velvety, with the rounded sweetness of real chocolate instead of a flat powdered mix. Mini marshmallows bob on top like little clouds, softening slowly into the foam.
It feels like something from a fancy chocolate shop, yet the whole batch comes together in your own kitchen. Kids gasp when the shell melts open, and adults quietly reach for a second mug.
## Why This Hot Chocolate Bombs Recipe Works
20-Minute Hot Chocolate Bombs work because the shell does double duty as both the cup and the cocoa. Two thin coats of chocolate build a shell that is sturdy enough to hold, yet delicate enough to melt the second hot milk touches it.
That contrast between the crisp snap and the molten center is the whole thrill of the recipe. The filling is a homemade cocoa mix, just cocoa powder, sugar, and a pinch of salt, which tastes rounder and deeper than any store packet. Salt is the quiet hero here, sharpening the chocolate flavor without making anything taste salty.
A quick chill in the freezer sets each layer in minutes, so there is no tempering, no thermometer, and no waiting around. Everything about the method is built for speed, which is exactly why it fits a busy December schedule.
## Flavor and Texture
Bite into one before it meets milk and you get a clean snap, the sign of a shell with the right thickness. Good semi-sweet chocolate gives a glossy finish and a mellow bitterness that keeps the drink from turning syrupy. The white chocolate drizzle on top is not just decoration, it adds a creamy sweetness that melts first on your tongue.
Inside, the homemade cocoa mix dissolves into something far silkier than instant packets. Because the shell itself melts into the mug, the drink gains body, almost like a light ganache thinned with milk. A pinch of salt lifts the cocoa the way it lifts caramel, quietly, in the background.
Mini marshmallows float up as the shell breaks, turning pillowy and sweet against the dark cocoa. Whole milk makes the richest cup, its fat carrying the chocolate flavor across your palate. Oat milk is a close second, adding a gentle nuttiness that pairs beautifully with dark chocolate. For extra depth, a few drops of vanilla in the milk round out the edges without stealing the spotlight.
There is also a quiet textural detail worth noticing: the shell never fully vanishes. Tiny shards of chocolate linger in the last sips, giving the drink a pleasant, almost fudgy chew. That lingering richness is why these taste homemade in the best way, never like a mix from a packet.
### The Moment It Melts
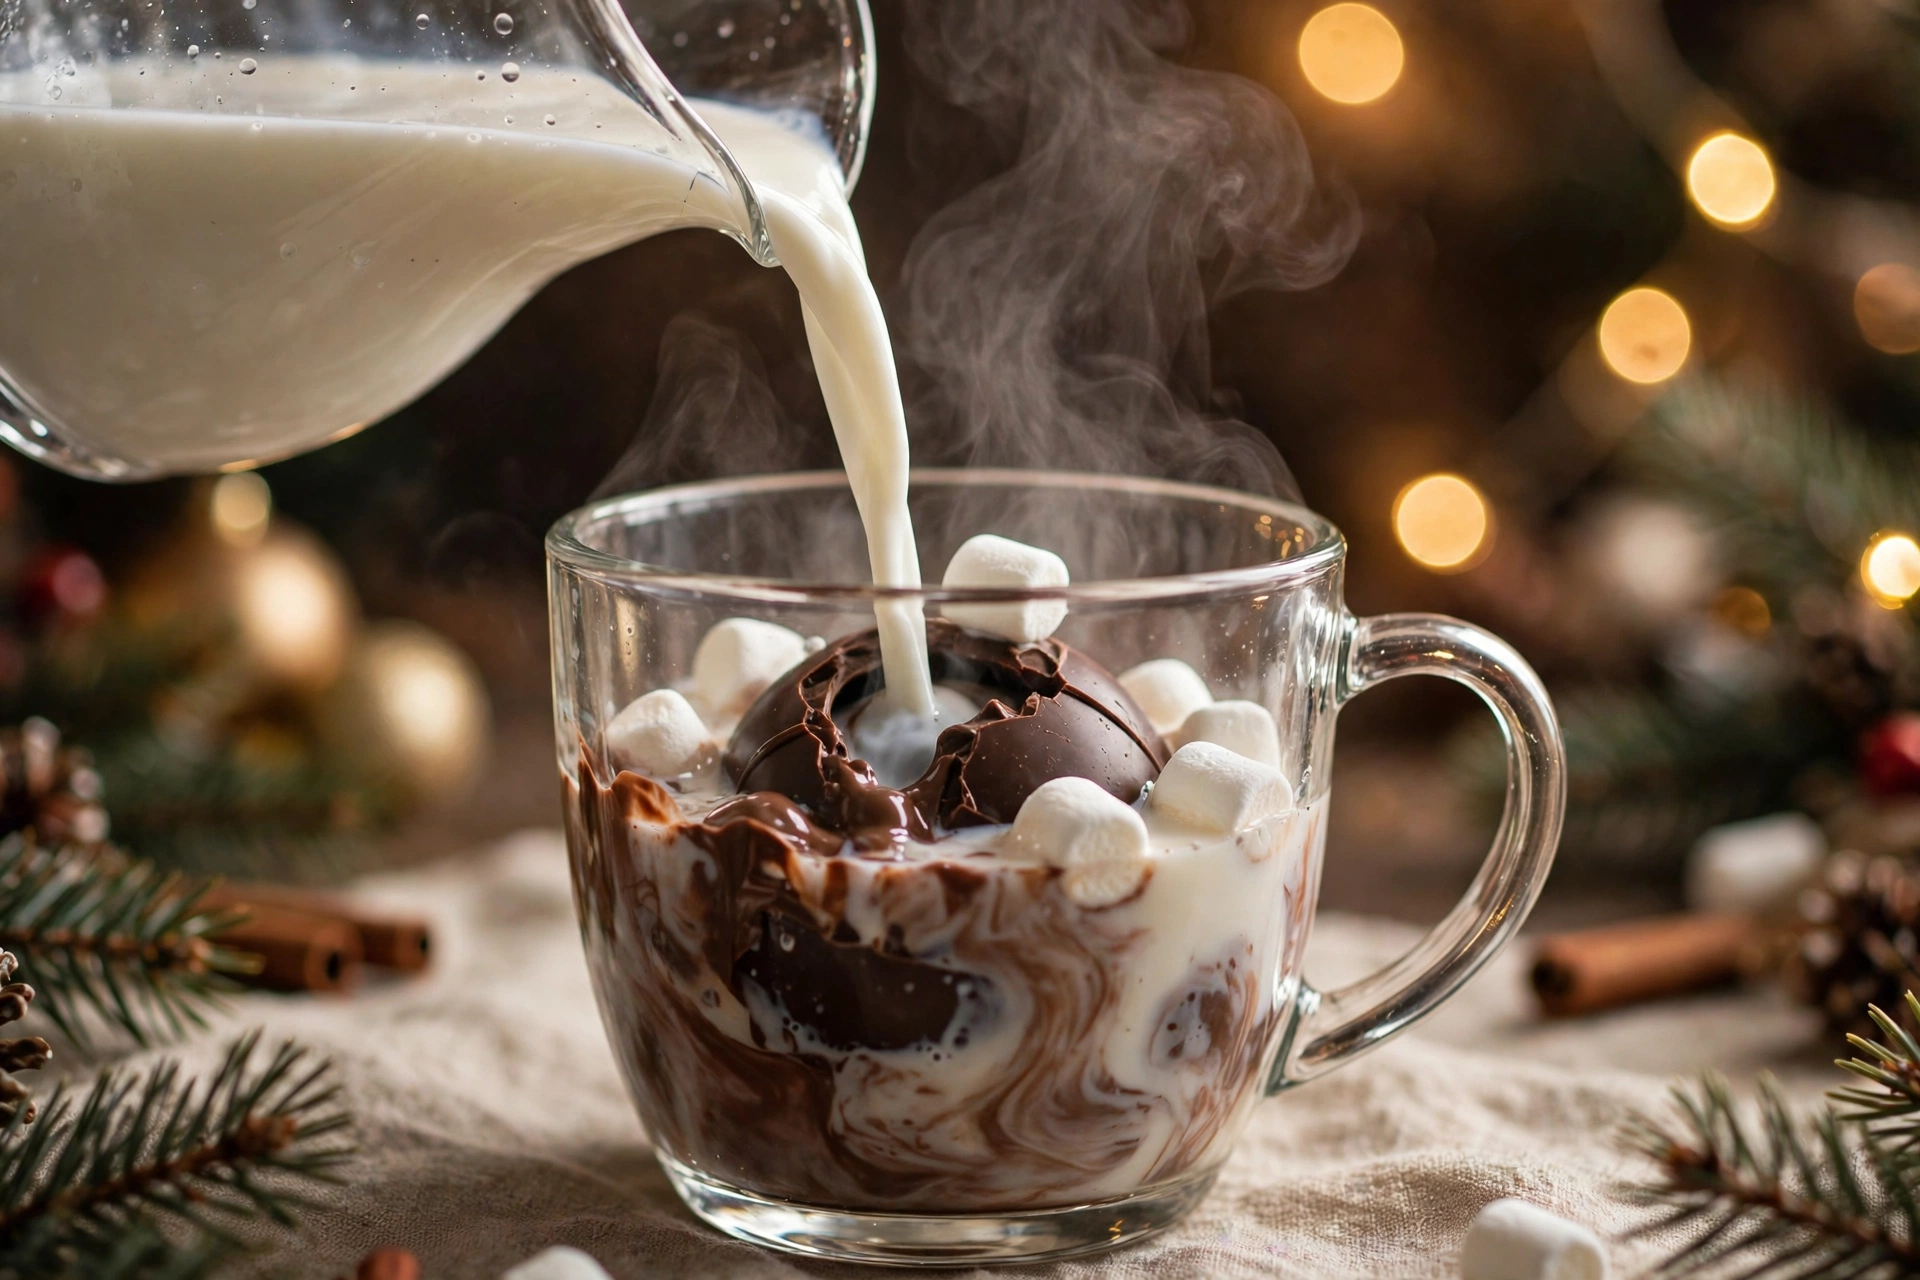
Watch the melt happen and you will see ribbons of chocolate swirl through the milk before everything turns a deep mahogany. Crushed candy cane on top adds a cool mint sparkle and a festive crunch that plays against the smooth drink. Serve it steaming, not scalding, so the sweetness stays balanced and the aroma blooms fully. The finished mug looks almost too pretty to stir, but stirring is where the magic completes itself.
## Convenience and Time
The active work here is about ten minutes, and most of that is waiting for the microwave. Melting chocolate in short bursts beats a double boiler for a weeknight, with no extra pan to wash. The freezer does the heavy lifting, setting each coat in five minutes flat.
That speed is the real magic of hot chocolate bombs: a treat that looks like a patisserie project fits into a lunch break. Make them after dinner and they are ready before the movie starts. They are also a brilliant party trick, so set out a tray with a kettle of hot milk and let guests melt their own.
Kids love pressing the halves together, which makes this a perfect December weekend project. Pair the finished bombs with a bowl of 15-minute white chocolate peppermint popcorn for a movie night that feels straight out of a holiday film. From craving to first sip, the clock reads twenty minutes, and that includes cleanup.
Cleanup is mercifully small: one bowl, one spoon, and a mold that rinses clean. Because the freezer sets everything so fast, you can start a second batch right after the first without a long wait. That is how a single evening produces enough gifts for the whole neighborhood.
## Diet Friendly Options
For a dairy-free version, build the shells from dark chocolate and fill the mugs with oat milk. Most dark chocolate bars are naturally dairy free, but check the label for milk fat. The result is just as glossy, with a slightly deeper cocoa note.
To trim the sugar, use a 70% dark chocolate shell and cut the sugar in the cocoa mix by a third. The drink stays rich because the shell contributes most of the body. The recipe is naturally gluten free, since none of the core ingredients contain wheat.
One bomb per mug keeps portions sensible, and the homemade mix lets you control exactly what goes inside. Small tweaks, same theater, and nobody at the table will guess anything was adapted.
For a lighter cocoa mix, swap half the sugar for a granulated monk fruit blend, keeping in mind the marshmallows still bring sweetness. The bombs remain a treat, just one you can tune to your table.
## Ingredients
You need just a handful of pantry staples, plus a silicone half-sphere mold with twelve cavities.
– 12 ounces semi-sweet chocolate chips, divided (about 2 cups)
– 1/4 cup unsweetened cocoa powder
– 1/4 cup granulated sugar
– 1/8 teaspoon fine sea salt
– 1/2 cup mini marshmallows
– 2 ounces white chocolate chips (about 1/3 cup), for drizzling
– 1 tablespoon crushed candy canes or festive sprinkles, optional
– Hot milk, for serving (about 1 cup per bomb)
## Step by Step Instructions
The method is simple: melt, coat, chill, fill, seal, and decorate. Set everything out before you melt the chocolate, since the process moves quickly once the shells start setting.
1. Place 10 ounces of the semi-sweet chocolate chips in a microwave-safe bowl. Heat in 30-second bursts, stirring well between each, until smooth and glossy, about 90 seconds total. Do not overheat, because chocolate burns fast once it passes the melting point.
2. Spoon about 1 tablespoon of melted chocolate into each of the 12 half-sphere cavities. Use the back of a small spoon to spread the chocolate evenly up the sides, covering every bit of the cavity with no gaps. Place the mold in the freezer for 5 minutes.
3. Check each shell for thin spots where you can see through the chocolate. Dab a little more melted chocolate over those areas with the spoon, then freeze again for 5 minutes until completely firm to the touch.
4. Carefully pop all 12 chocolate halves out of the mold, handling them by the edges. In a small bowl, whisk the cocoa powder, sugar, and salt together. Fill 6 of the halves with about 1 tablespoon of cocoa mix each, then add a small handful of mini marshmallows to each one.
5. Heat a microwave-safe plate for 60 to 90 seconds until warm to the touch. Press one empty half, rim side down, onto the warm plate for 2 to 3 seconds to melt the edge, then immediately press it onto a filled half and hold for 5 seconds. Repeat with the remaining bombs, reheating the plate if it cools.
6. Melt the white chocolate chips in 20-second bursts, stirring until smooth. Drizzle over the sealed bombs with a spoon or a small piping bag, then sprinkle with crushed candy cane or festive sprinkles if you like. Freeze for 2 minutes to set the drizzle.
7. To serve, place one bomb in a large mug and pour 1 cup of steaming milk, not boiling, over the top. Wait about 10 seconds, then stir until the chocolate melts completely and the cocoa dissolves into a smooth drink. Top with extra marshmallows if you are feeling festive.
## Tips and Tricks for Hot Chocolate Bombs Success
If a shell cracks while unmolding, the coat was too thin, so double-check for see-through spots on the next round. You can rescue a cracked half by smoothing the crack with the back of a warm spoon. Keep every tool bone dry, because even a drop of water makes melted chocolate seize into a grainy lump.
If you are new to melting chocolate, King Arthur Baking’s guide to melting chocolate explains the microwave method in reassuring detail. Wear thin gloves or handle the shells by the edges to avoid melting fingerprints into the glossy surface. Do not overfill the halves, or the two rims will not meet cleanly and the seam will leak in the mug.
Heat the milk until steaming, around 160 to 175 degrees Fahrenheit, since boiling milk can make the drink taste flat and dull. A faint white film on chilled bombs is just cocoa butter bloom, harmless and invisible once melted. Work with one half at a time when sealing, because the warm plate cools quickly and a cool plate will not melt the rim. Seal the seam, drizzle, freeze, and each bomb will look straight from a chocolate shop.
Chocolate chips hold their shape thanks to added stabilizers, so chopped bar chocolate actually melts smoother for coating the shells. Either works here, but if your chips look stubborn, stir in a teaspoon of coconut oil for extra fluidity. Always melt a little more chocolate than you think you need, since running short mid-coat is the fastest way to end up with thin, fragile shells.
## Ingredient Swaps and Variations
For peppermint hot chocolate bombs, stir 2 tablespoons of crushed candy cane into the cocoa mix and add a few extra crushed pieces on top of the drizzle. The cool mint cuts the richness in the most festive way. A mocha version needs just 1 teaspoon of instant espresso powder per bomb whisked into the filling, and coffee lovers will notice the difference immediately.
Salted caramel lovers can tuck a few caramel chips inside each shell and finish with a pinch of flaky sea salt on the drizzle. Swap the semi-sweet shell for white chocolate and drizzle with dark chocolate for a striking reverse look that photographs beautifully. Candy melts work as a shortcut shell and set up fast in the freezer, though the flavor is sweeter and less deep than real chocolate.
Once you have the technique down, hot chocolate bombs become a formula you can riff on all winter, from raspberry to toasted marshmallow to double dark chocolate. Tuck a few finished bombs into a gift box with 20-minute peppermint white chocolate fudge and 20-minute no-bake gingerbread truffles for a homemade trio that beats any store-bought assortment. Every variation follows the same twenty-minute rhythm. A white chocolate shell filled with the classic cocoa mix looks stunning next to the dark version in a mixed gift box.
## Hot Chocolate Bombs Storage and Make Ahead
Store finished bombs in an airtight container at cool room temperature for up to 2 weeks. Keep them away from heat and sunlight, and slip parchment between layers so the drizzle does not stick. The refrigerator works too, though the cold can draw out a harmless white bloom on the surface.
For longer storage, freeze the bombs in a sealed container for up to 2 months, then thaw overnight in the fridge before gifting or serving. Handle thawed bombs gently, since the shells turn a little more fragile after freezing. They are an ideal make-ahead Christmas gift, so plan a batch or two for the weekend before the holiday rush.
Set them out next to a platter of 20-minute christmas cookie cheesecake dip at your party and watch them disappear first. A little planning turns December chaos into calm, one glossy chocolate sphere at a time.
If you are gifting, nest each bomb in a paper candy cup inside a small box or cello bag, and add a tag with serving directions. They travel well as long as they stay cool and upright.
## Conclusion
20-Minute Hot Chocolate Bombs prove that the most memorable holiday treats do not need the most work. A glossy shell, a molten cocoa heart, and that little gasp when the milk hits are worth far more than twenty minutes of effort.
Make a batch of hot chocolate bombs for gifts, keep a few for yourself, and savor the quiet ritual of stirring winter into a mug. This is the recipe I reach for when December feels rushed and I want one small moment of magic.
Hot Chocolate Bombs FAQ
Why did my hot chocolate bombs crack when I removed them from the mold?
Cracks almost always mean the shell was too thin in spots. Add a second coat of chocolate wherever you can see through the first layer, and freeze the mold until the shells are completely firm before unmolding. Small cracks can be smoothed over with the back of a warm spoon.
Can I use candy melts instead of real chocolate for the shells?
Yes, candy melts are easier because they need no tempering and set up quickly in the freezer. The trade-off is flavor, since they taste sweeter and less complex than real semi-sweet chocolate. For gifts and parties they work beautifully, but for the richest cup, stick with real chocolate.
Why did my melted chocolate turn thick and grainy?
That is called seizing, and it happens when even a tiny drop of water touches melting chocolate. Keep bowls, spoons, and molds completely dry, and never cover the bowl while microwaving. If it seizes, stir in a splash of warm cream to turn it into ganache for another dessert.
Should I pour milk or water over the bomb?
Milk, always. Hot milk melts the shell into a creamy, full-bodied drink, while water makes it thin and flat. Heat the milk until steaming, about 160 to 175 degrees Fahrenheit, but do not boil it. Whole milk gives the richest result, with oat milk as the best dairy-free pick.
Can I make hot chocolate bombs weeks before Christmas?
Absolutely. They keep 2 weeks at cool room temperature in an airtight container, or up to 2 months in the freezer. Thaw frozen bombs overnight in the refrigerator and handle them gently, since freezing makes the shells slightly more fragile. Decorate after thawing if you want the glossiest finish.
20-Minute Hot Chocolate Bombs
Glossy chocolate spheres filled with homemade cocoa mix and mini marshmallows. Pour hot milk over one and watch it melt into the richest, most festive mug of hot chocolate.
- Total Time: 20 minutes
- Yield: 6 bombs 1x
Ingredients
- 12 ounces semi-sweet chocolate chips, divided (about 2 cups)
- 1/4 cup unsweetened cocoa powder
- 1/4 cup granulated sugar
- 1/8 teaspoon fine sea salt
- 1/2 cup mini marshmallows
- 2 ounces white chocolate chips (about 1/3 cup), for drizzling
- 1 tablespoon crushed candy canes or festive sprinkles, optional
- Hot milk, for serving (about 1 cup per bomb)
Instructions
- Place 10 ounces of the semi-sweet chocolate chips in a microwave-safe bowl. Heat in 30-second bursts, stirring well between each, until smooth and glossy, about 90 seconds total.
- Spoon about 1 tablespoon of melted chocolate into each of 12 half-sphere cavities in a silicone mold. Spread evenly up the sides with the back of a small spoon, then freeze for 5 minutes.
- Check for thin spots and dab on more chocolate where needed. Freeze again for 5 minutes until completely firm.
- Pop out all 12 halves. Whisk the cocoa powder, sugar, and salt, then fill 6 halves with about 1 tablespoon of cocoa mix each plus a small handful of mini marshmallows.
- Warm a microwave-safe plate for 60 to 90 seconds. Press each empty half rim-down on the warm plate for 2 to 3 seconds, then press onto a filled half and hold 5 seconds.
- Melt the white chocolate chips in 20-second bursts and drizzle over the sealed bombs. Add crushed candy cane or sprinkles if you like, then freeze 2 minutes to set.
- Place one bomb in a large mug, pour 1 cup of steaming (not boiling) milk over it, wait 10 seconds, and stir until smooth.
- Prep Time: 10 minutes
- Cook Time: 10 minutes
3 commentaires sur « 20-Minute Hot Chocolate Bombs: Glossy, Gooey and Gift-Ready »